Hovert60 keyboard devlog #1: Init
Table of Contents
Background
I have been a mild fan of mechanical and ergonomic keyboards for a while now. I have used Ergodox EZ, Planck EZ 1 and OLKB Preonic. Additionally, my XKB configuration is somewhat interesting.
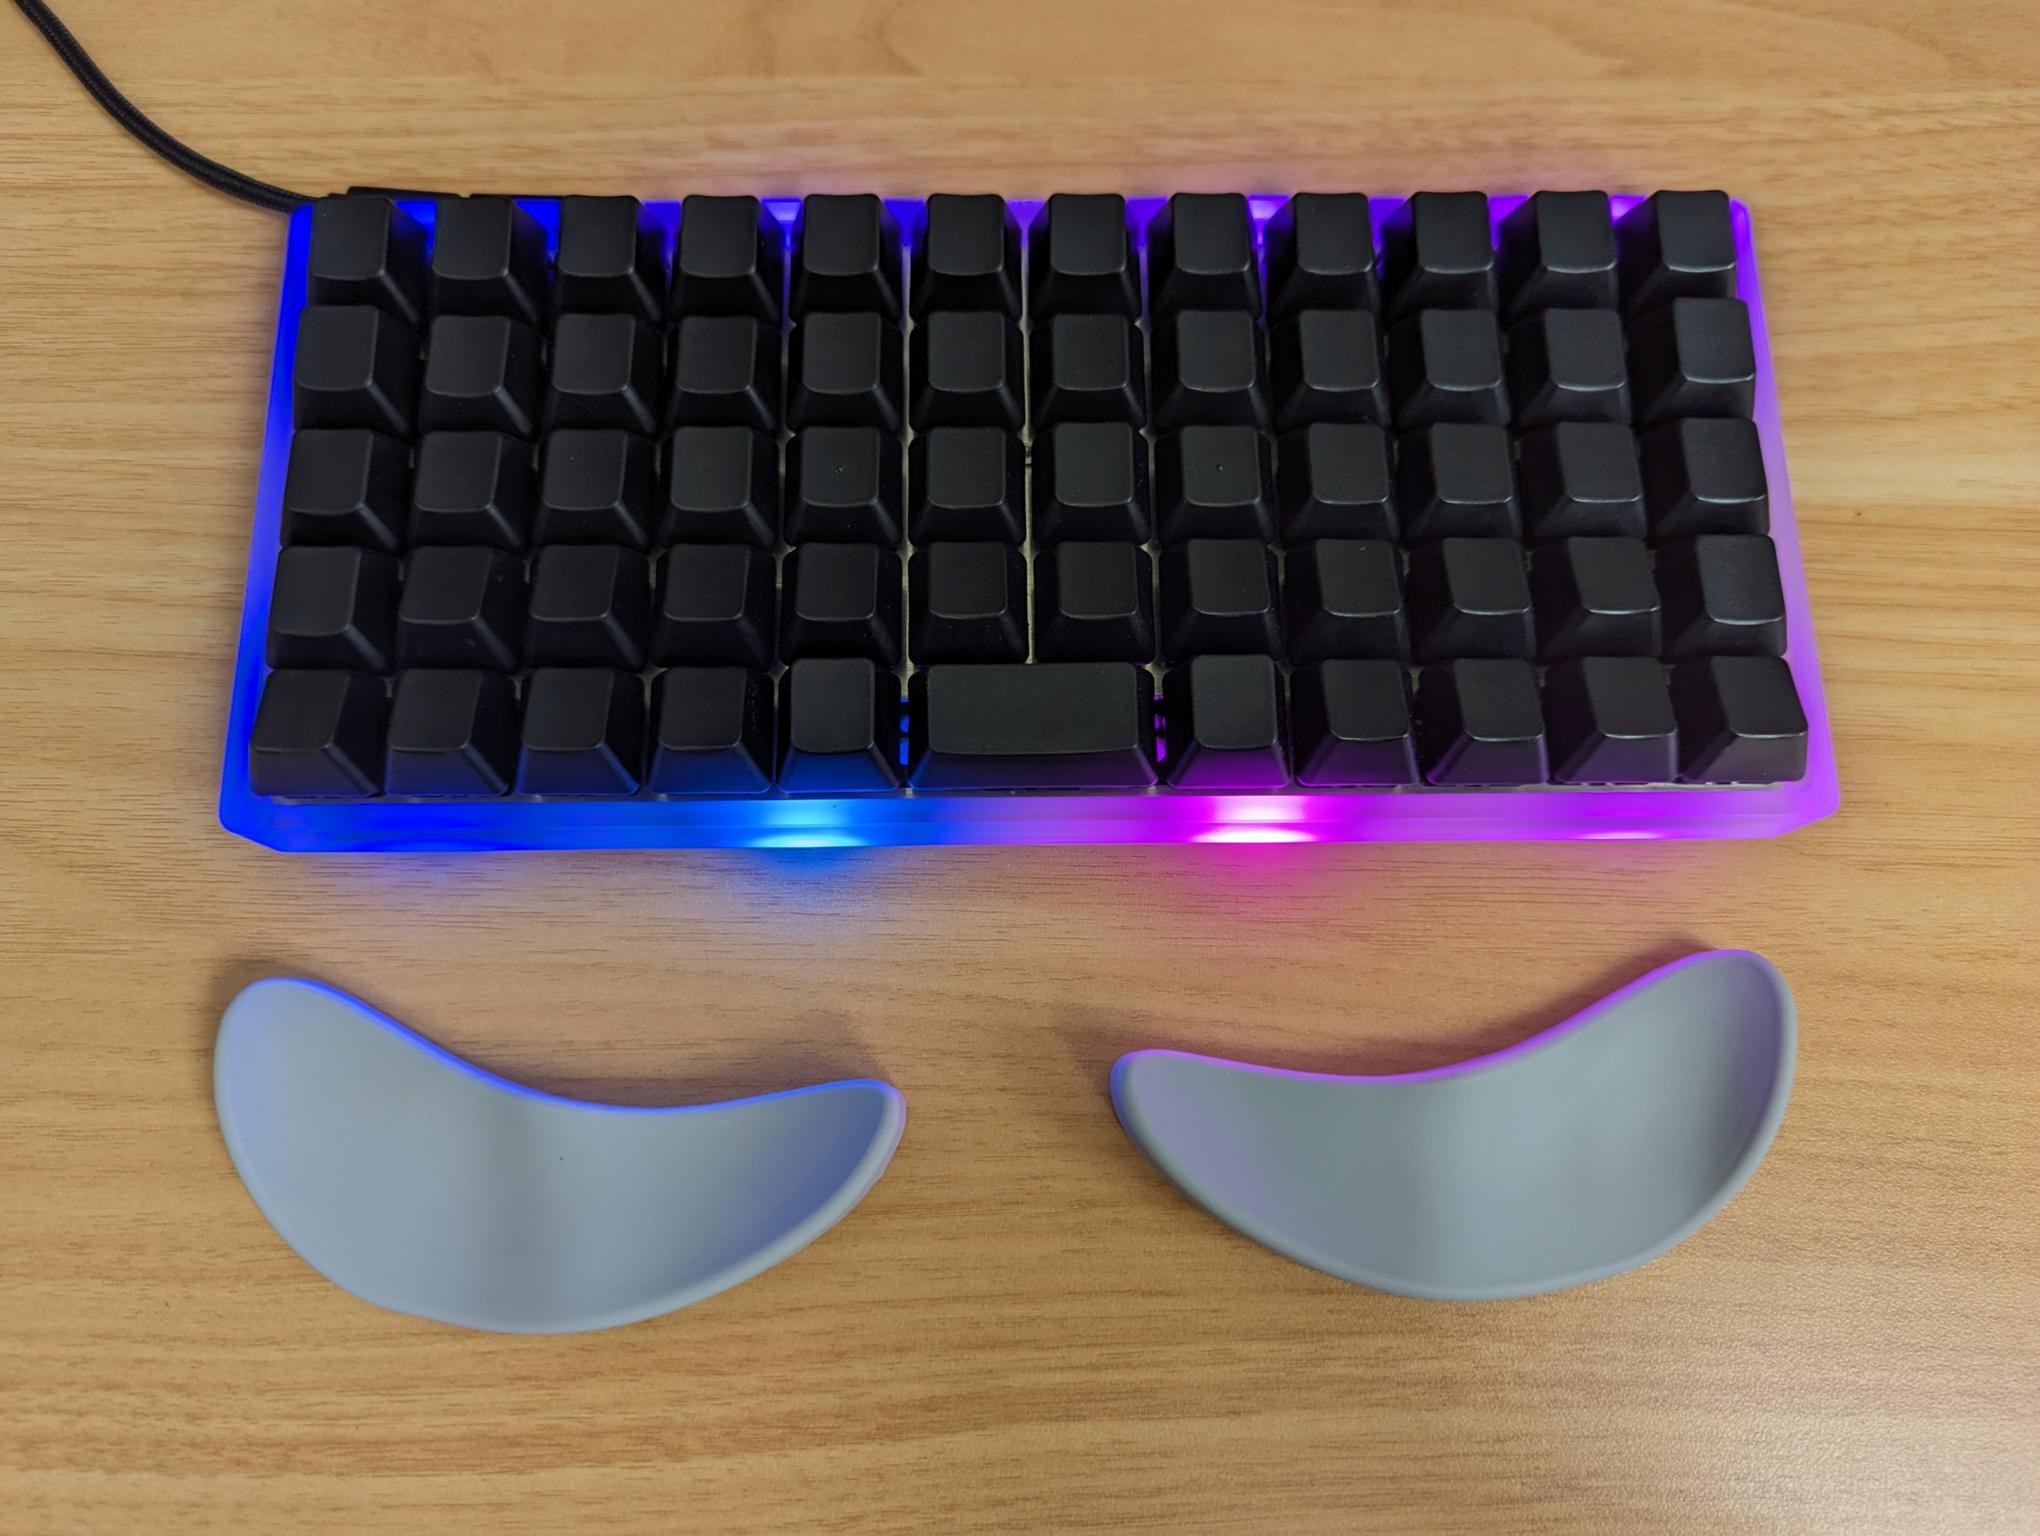
OLKB Planck with «ergonomic» wristrests
You see, Russian alphabet has 33 letters, while English only has 26. This means that on the default Russian layout more keys are used for letters, and punctuation keys are different from the US layout.
To improve the multilingual typing experience, a variant of the RU layout called unipunct was created by @a13.
I then modified it slightly and submitted it to xkeyboard-config.
The layout moves some of the RU keys to a «Layer 3» so they can be accessed when a «Layer 3 modifier» is held.
For example, letter ё [jɵ] is kind of an extension of letter о [o].
As ё is used relatively rarely (and some people even consider it optional), it is placed on the Layer 3 of the о key.
My Layer 3 modifier is Right Alt, so I can type ё by pressing RAlt+о and Ё by pressing RAlt+Shift+о.
Example XKB configuration that uses the layout
/etc/X11/xorg.conf.d/10-user-keyboard.conf
Section "InputClass"
    Identifier "system-keyboard"
    MatchIsKeyboard "on"

    Option "XkbLayout" "us,ru"
    Option "XkbVariant" ",unipunct"

    Option "XkbOptions" "grp:caps_toggle,lv3:ralt_switch"
EndSection
lv3:ralt_switch or an alternative lv3:... option is necessary to configure the key that will be used as the Layer 3 modifier.
Optional grp:caps_toggle configures language («group») switching to be done with Caps Lock.
Caps Lock can still be activated if pressed with Shift.
It can also be replaced with ctrl:swapcaps,grp:lctrl_toggle to make Caps Lock behave as Ctrl, and make Ctrl change the language.
Note: at the moment of writing, localectl list-x11-keymap-variants ru does not display the unipunct variant.
I might look into this at some point.
Note: the settings can also be hand-clicked in something like KDE keyboard configuration.
And they can also be used in input configuration of something like sway if you use Wayland.
I should mention that keyboard layout configuration does not end with XKB config. It can also be configured by modifying keyboard firmware, and some use cases really benefit from configuring both. However, this is a whole another topic which I will save for later. I plan to write more about this as a part of my Lazy keymap project.
So, considering my experience of using «ergonomic» keyboards and ru(unipunct) layout, I felt like I can improve something.
This, along with the aforementioned lazy-keymap, is what this devlog is about.
Idea
This is the idea I started with:
Make a keyboard tailored for me:
- Low-profile
- Ortholinear or column-staggered 2
- Ideally wireless
- Ideally with a thumb cluster
- Possibly split
The «tailored for me» part implies a few additional requirements. They basically boil down to what keys and key combinations I want to have the quickest access to.
Some accessibility criteria for keys & key combinations
| Feature | What it makes easier |
|---|---|
| Dedicated number row | Typing numbers & symbols, using Fn-keys & number shortcuts |
Caps Lock | Changing language |
Shift combos | Big letters and symbols |
Ctrl [+ Shift] combos | Regular application shortcuts |
Super3 [+ Shift] combos | Window manager shortcuts |
Right Alt [+ Shift] combos | Typing in Russian |
With this in mind, there are only two things left to do before I can start:
- Find inspiration
- Choose implementation approach
Inspiration
These keyboards served as my inspiration:
Sofle is probably the closest to what I want to make.
Approach
A keyboard can be designed in many ways that have various difficulty levels.
The approach of my choice is:
- Design the front plate shape in Autodesk Fusion from scratch
- Cut the front plate out of a sheet of metal using a CNC router
- Solder the key switches by hand, without using a PCB
To be fair, my initial idea was to cut the front plate out of wood or acrylic using a laser cutter. However, I learned that with the thickness of material I need to use, the result would be very fragile and wobbly. Maybe it could work if I used a PCB to hold the switches in place, but I don’t want that.
Here are some links:
- An amazing in-depth keyboard handwiring guide by Ewen Cluney
- Another keyboard handwiring guide with amazing photos by
@cribbit - A multi-part handwiring guide with nice extra info by Matteo Spinelli
- Sofle Choc build guide (uses a PCB)
It’s also important to mention that there are tools that can make the design process significantly easier:
- Keyboard Layout Editor
- Ergogen and its unofficial deployment which is «better» 4
- Cosmos (no idea about this one but looks very cool)
- Others not mentioned…
I didn’t use these helper tools because I was not aware about them when I started, and later Autodesk Fusion was just too fun to drop.
Preparation
Choosing the parts
There was a number of decisions to make:
- What key switches to use?
- What material to use for the front plate that will hold the switches locked in place?
- What microcontroller and firmware to use?
- How to attach the microcontroller to the board?
Choice of key switches
Decision process – keyswitches
As the goal is to make the keyboard low-profile, the «default» option seems to be Kailh Choc switches. It’s important to note that there are 2 main versions of Kailh Choc switches – V1 and V2. Kailh Choc V1 keycaps are not compatible with V2 and other switches.
Another important thing is that Kailh Choc keycaps are usually spaced differently compared to more traditional Cherry MX switches & keycaps. You can read more on Deskthority Wiki: Kailh PG1350 #Keycaps. There is also a datasheet for them.
Key (ha!) takeaways:
- The cutout for the switch is
14×14mm - One unit (area taken up by a key) is
18×17mm(compared to the more common19.05×19.05mm) - For the switches to click in place, the plate should ideally be
1.3mmthick (compared to the more common1.5mm)
I purchased Kailh Choc V1 Pink switches along with keycaps for them.
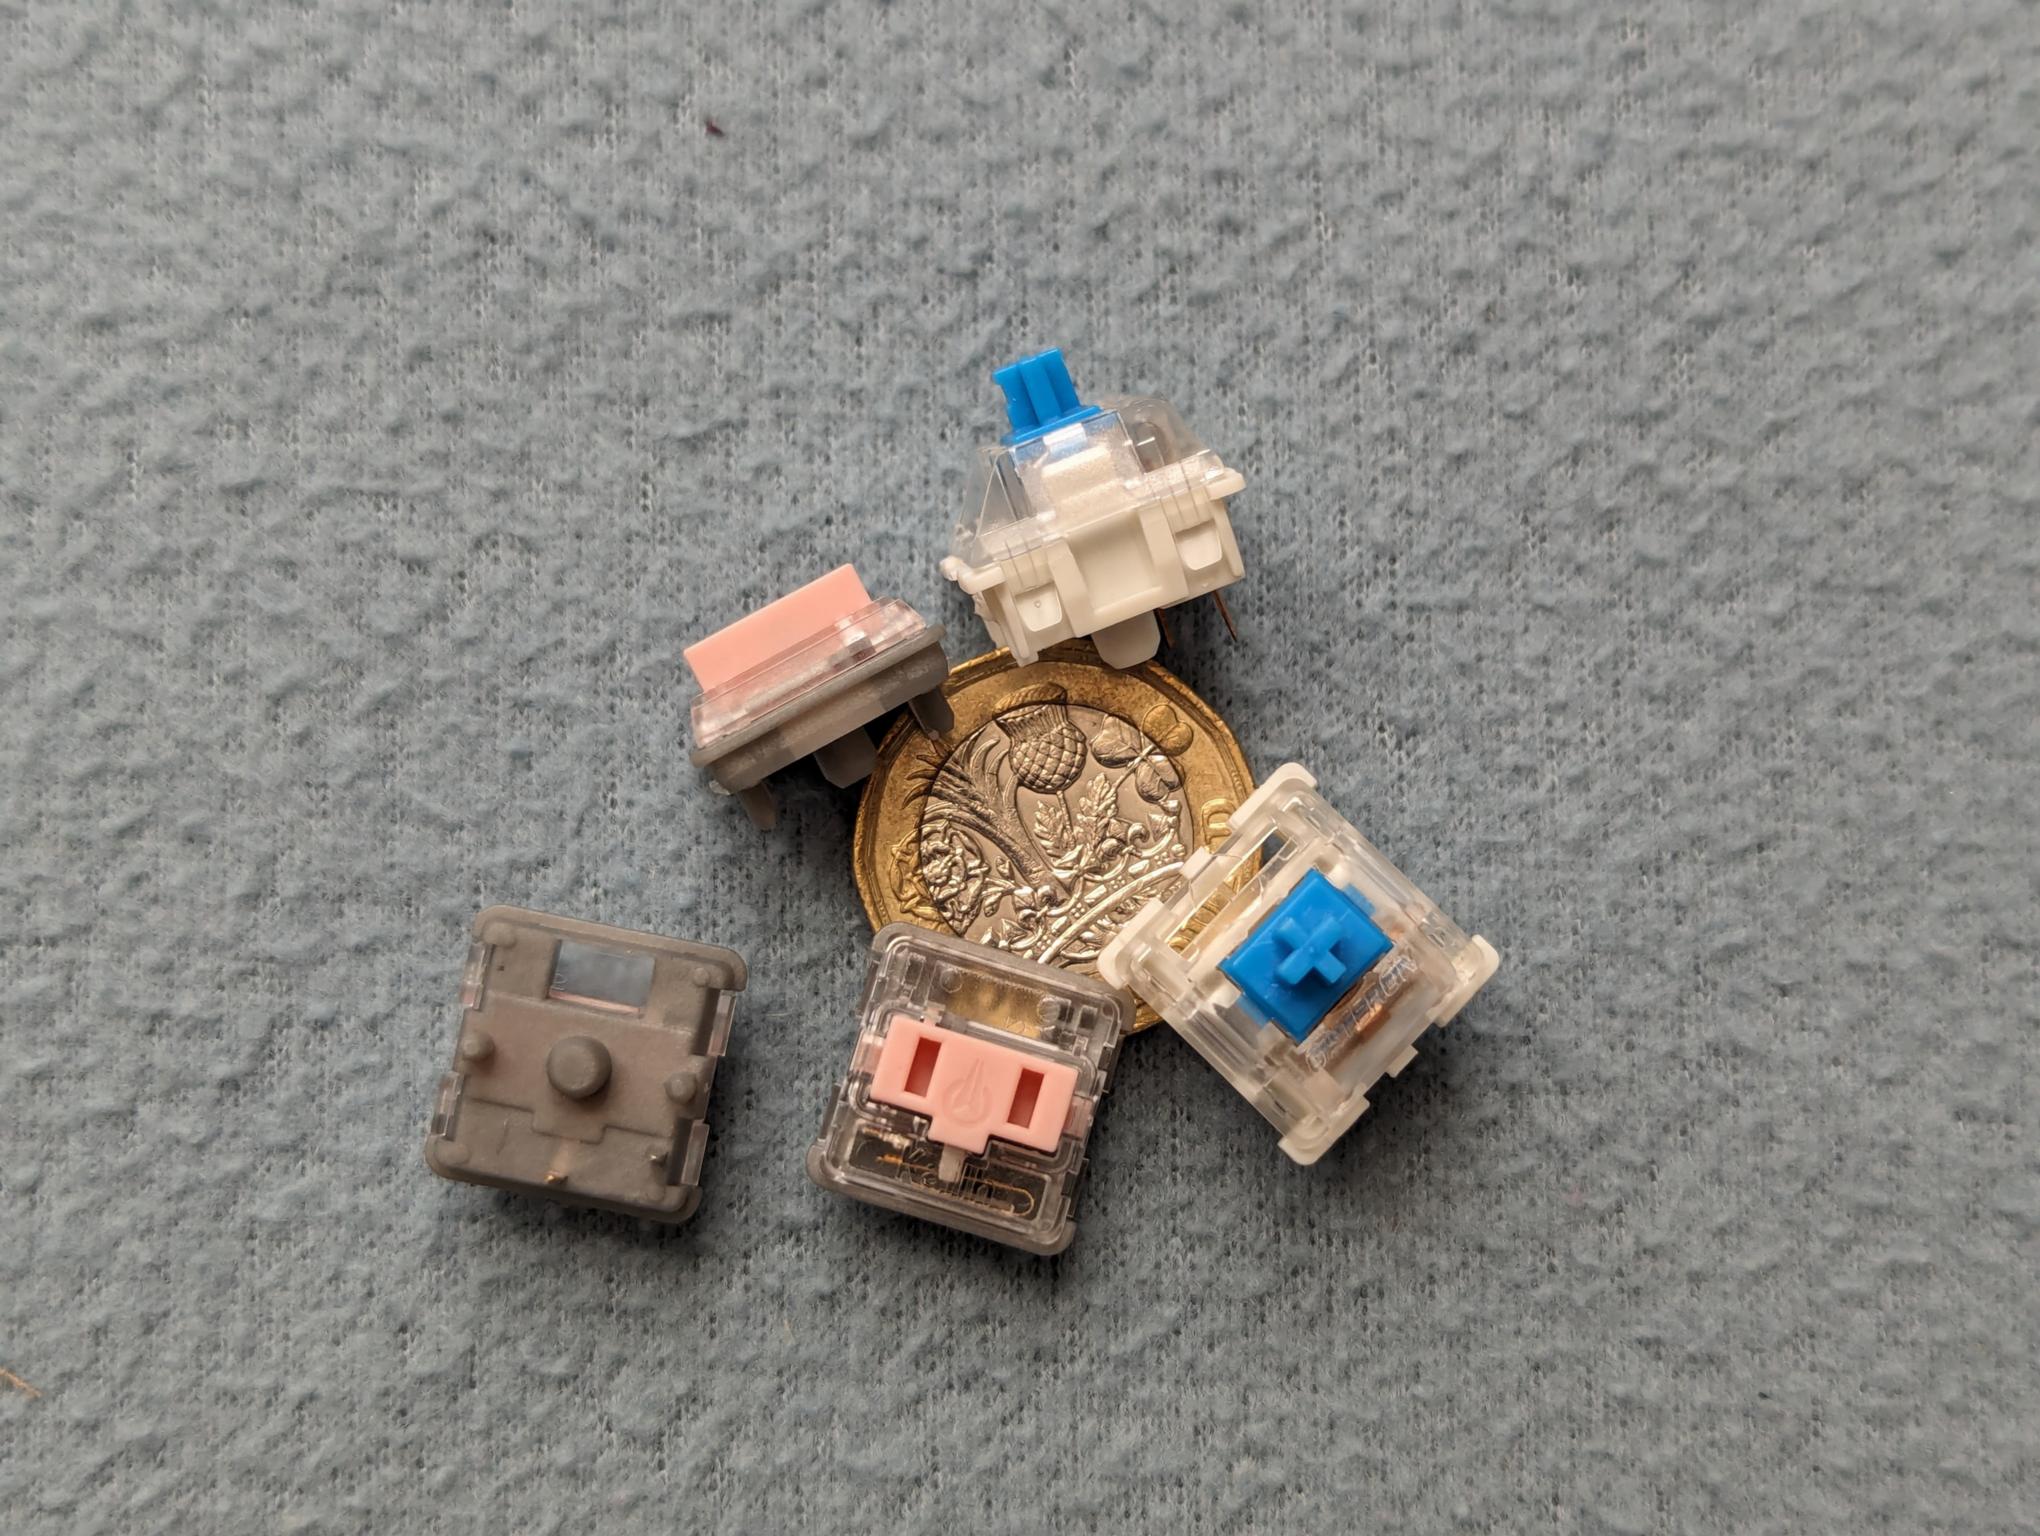
Kailh Choc V1 switches next to Cherry MX style switches
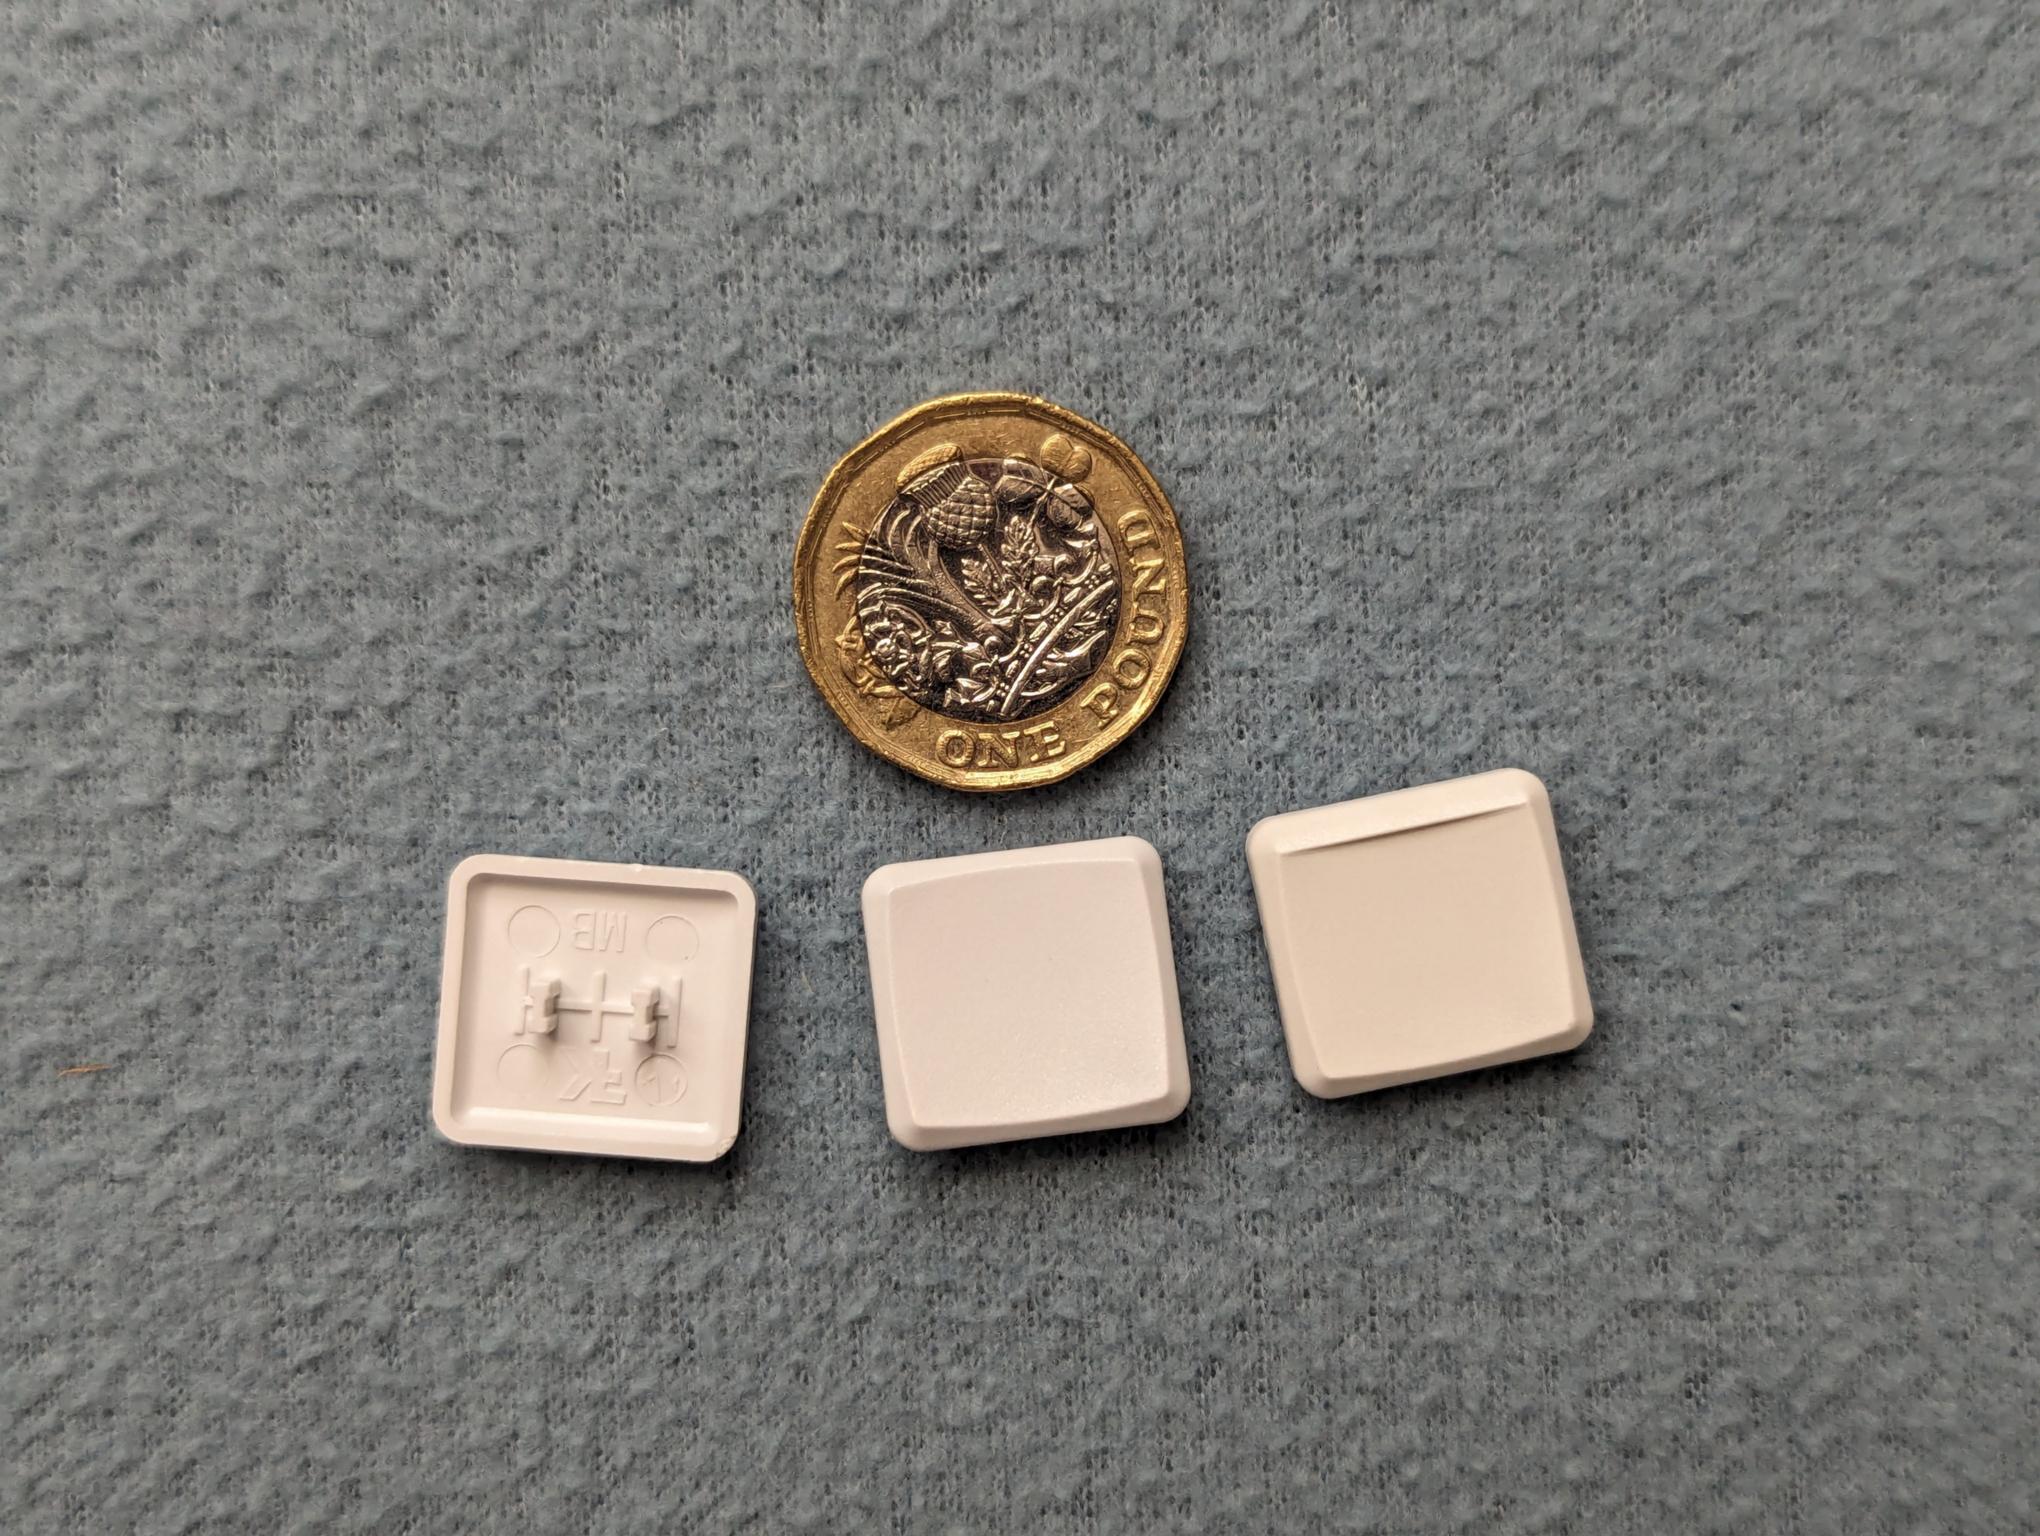
Kailh Choc V1 keycaps
Choice of front plate material
Decision process – plate material
As I mentioned previously, wood and acrylic are pretty much out of the question.
- Aluminium? I don’t like how it feels in my imagination, so no.
- Brass? Yes. Totally not inspired by DIY Perks.
I purchased 2 brass sheets with the dimensions 150×150×1.5mm.
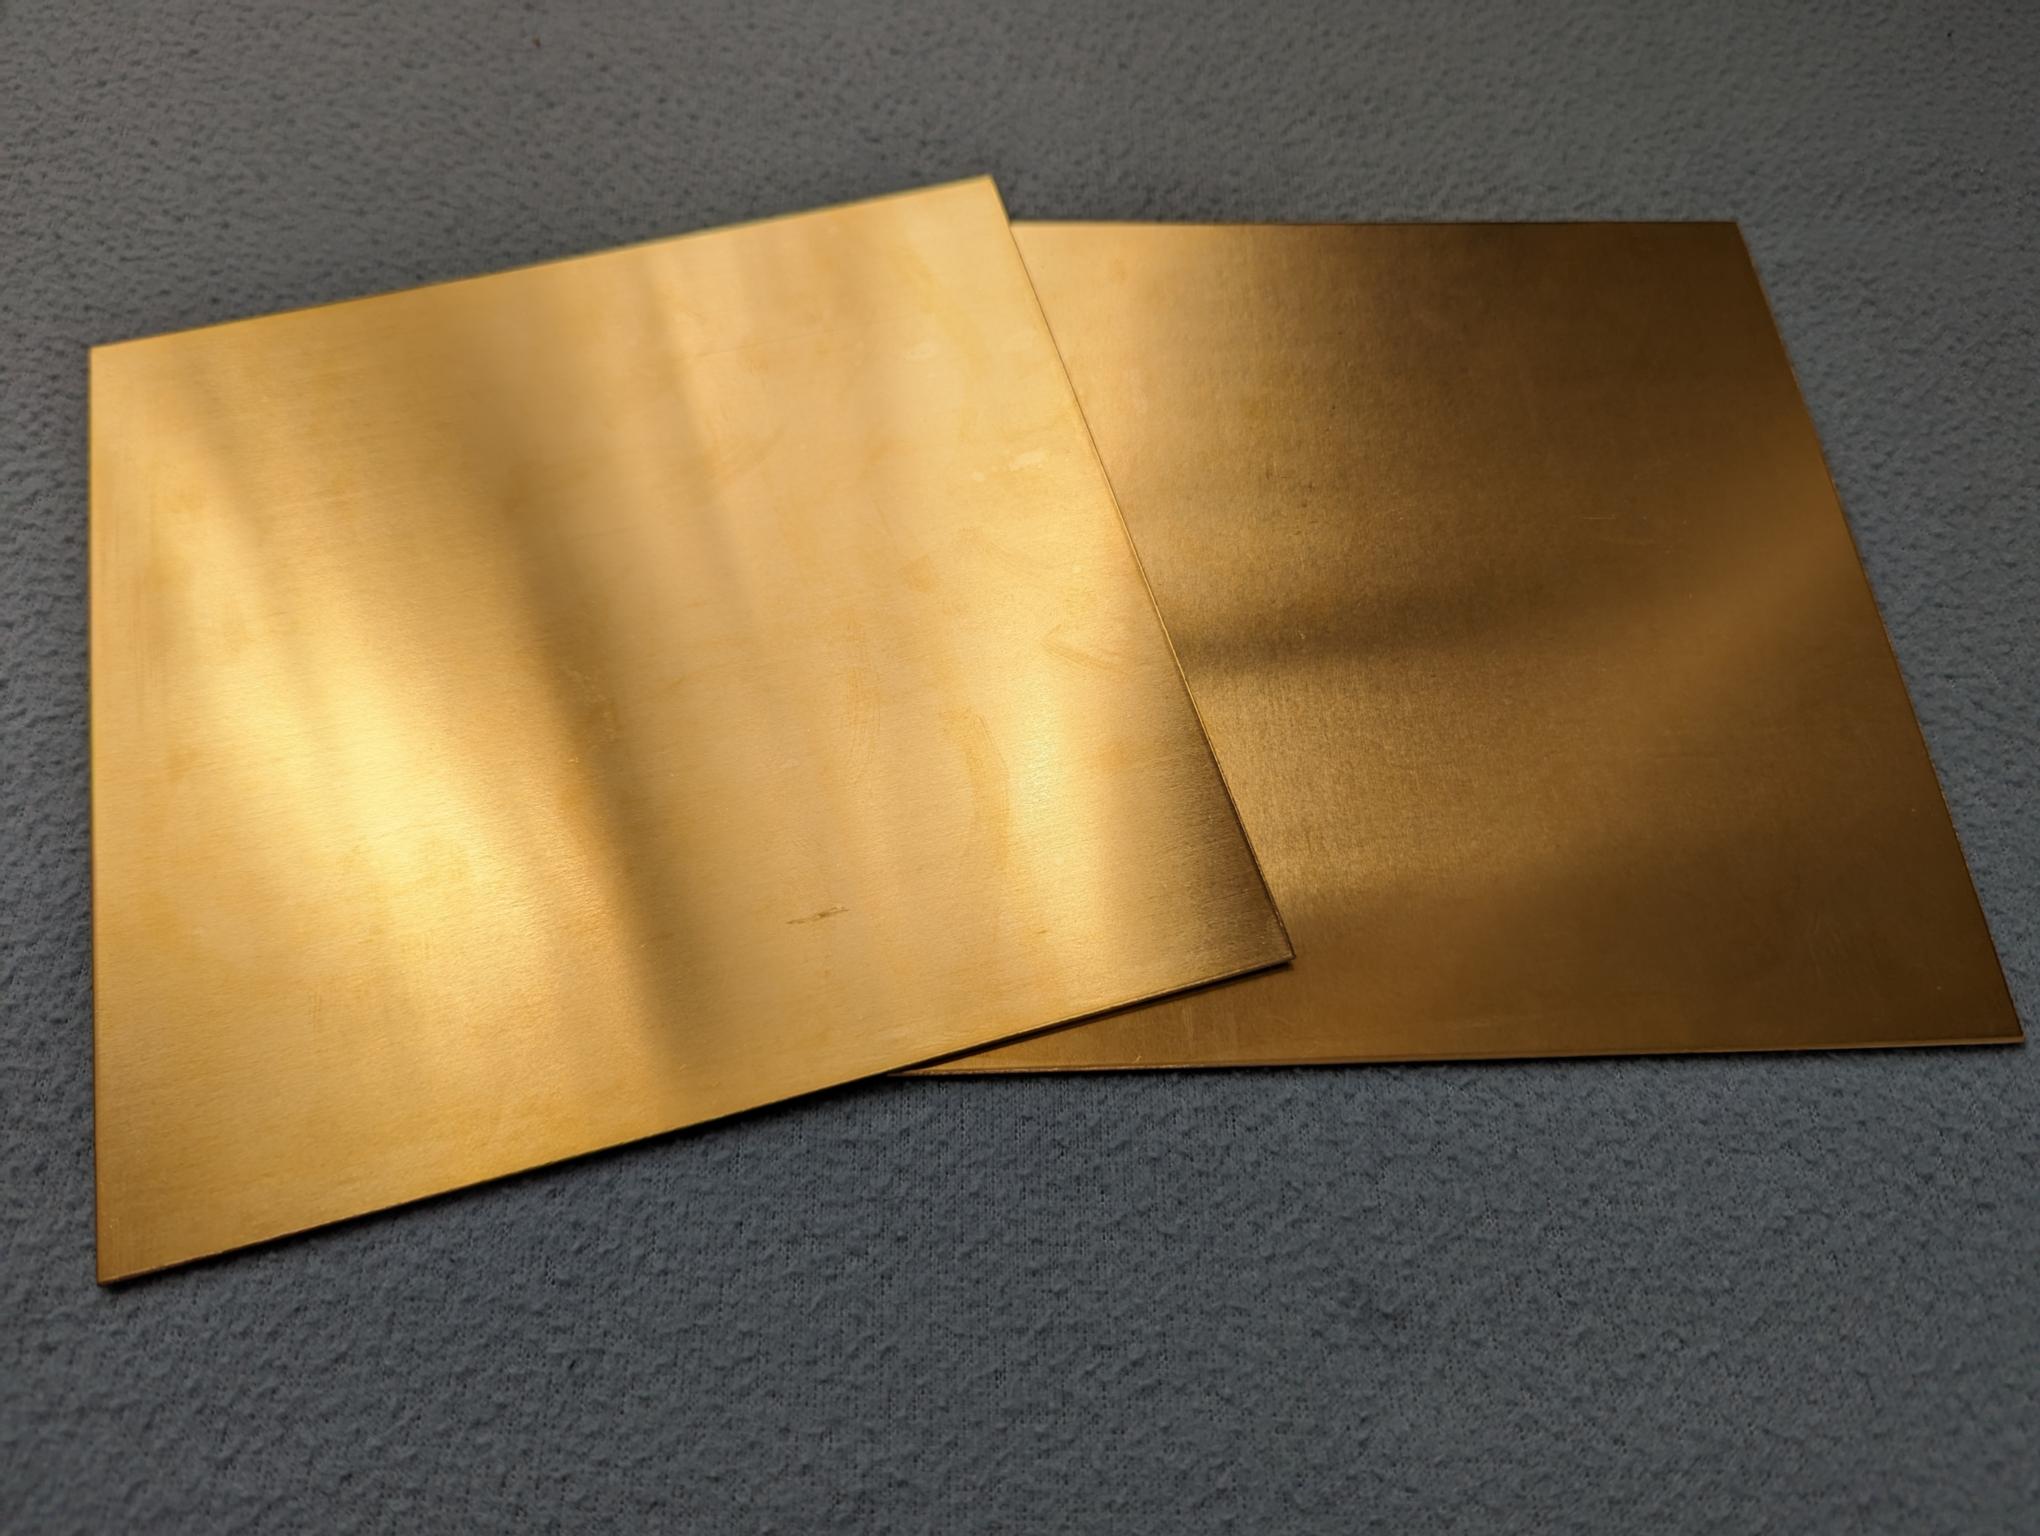
Brass sheets
Choice of microcontroller and firmware
Decision process – microcontroller
As I want to build a wireless keyboard, using ZMK for the firmware seems to be a good idea. Looking through the list of hardware supported by ZMK, I was choosing between Pro Micro and Seeed XIAO microcontroller «footprints». An important detail is that not all microcontrollers support BLE, and I wanted one that does support it (so I don’t have to charge the keyboard as often).
Note that the controller is quite small. It actually barely has enough pins for all the keys I want to have! Looking ahead, there are going to be 30 keys soldered in a 5x6 matrix, which means I need 11 I/O pins.
In the end I selected Seeed XIAO BLE that uses an nRF52840 chip.
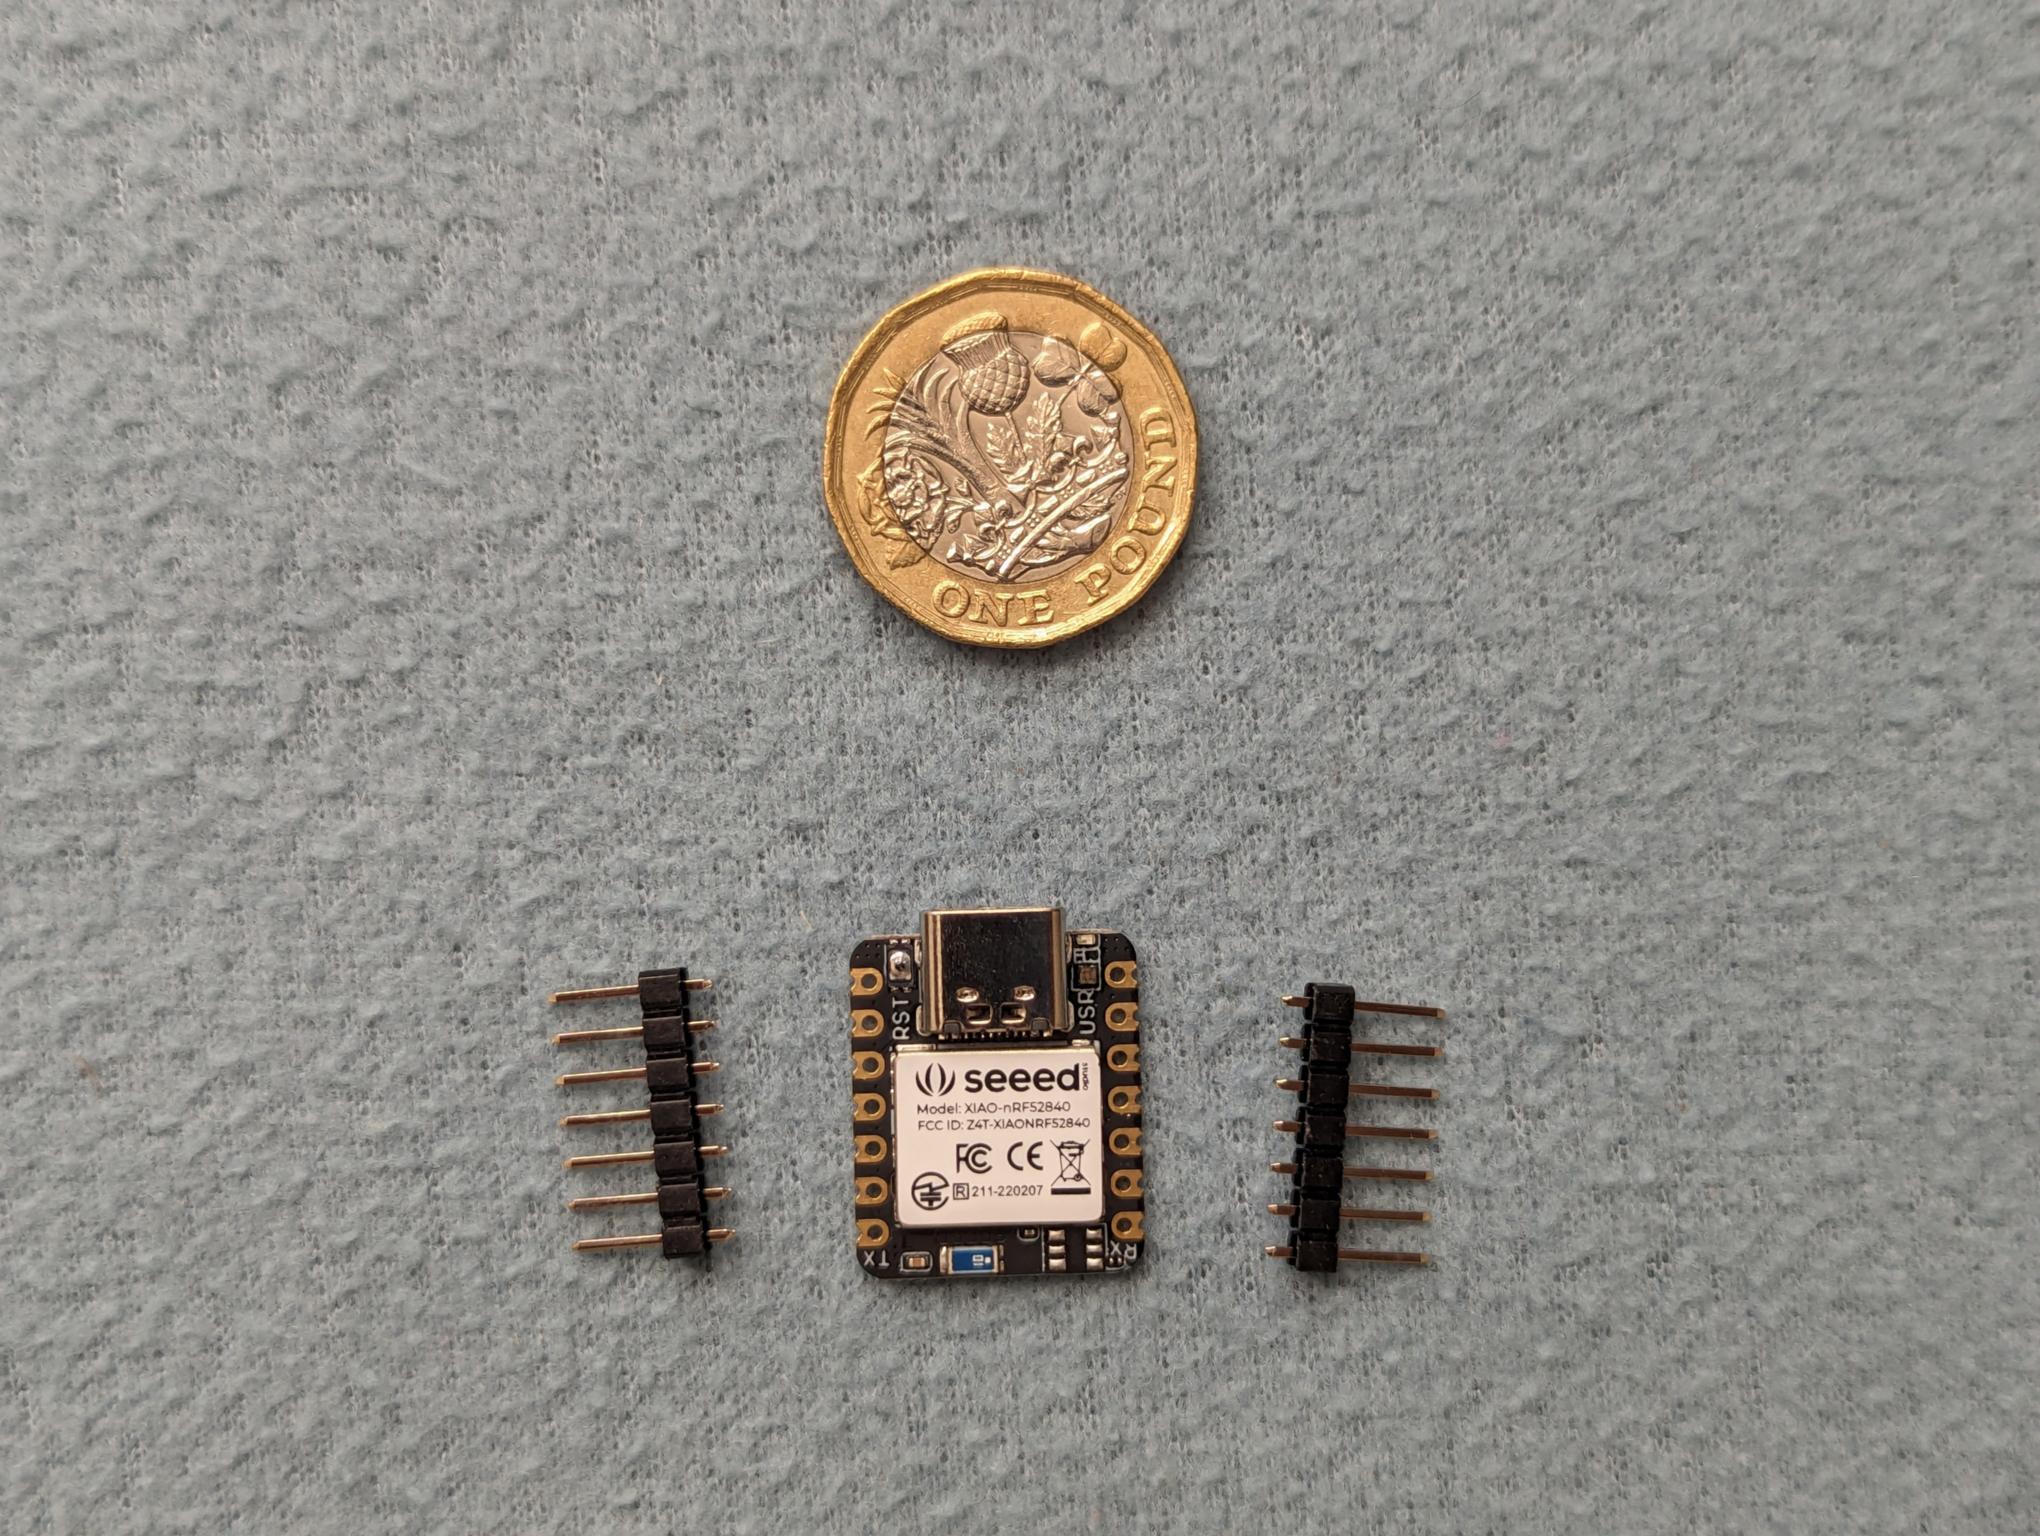
Seeed XIAO BLE microcontroller
Determining how to attach the microcontrollers to the boards
Decision process – microcontroller attachment
Originally I was thinking about glueing the microcontroller to the bottom board, or maybe leaving it hanging, as it doesn’t have any mounting holes. But I realized I can use a soldering breadboard to mount the microcontroller and connect the wires to it.
This brings additional benefits:
- If I use header pins for the microcontroller, it becomes swappable (in case it fails)
- I can hide the battery under the breadboard
- It’s easier to fix issues during assembly
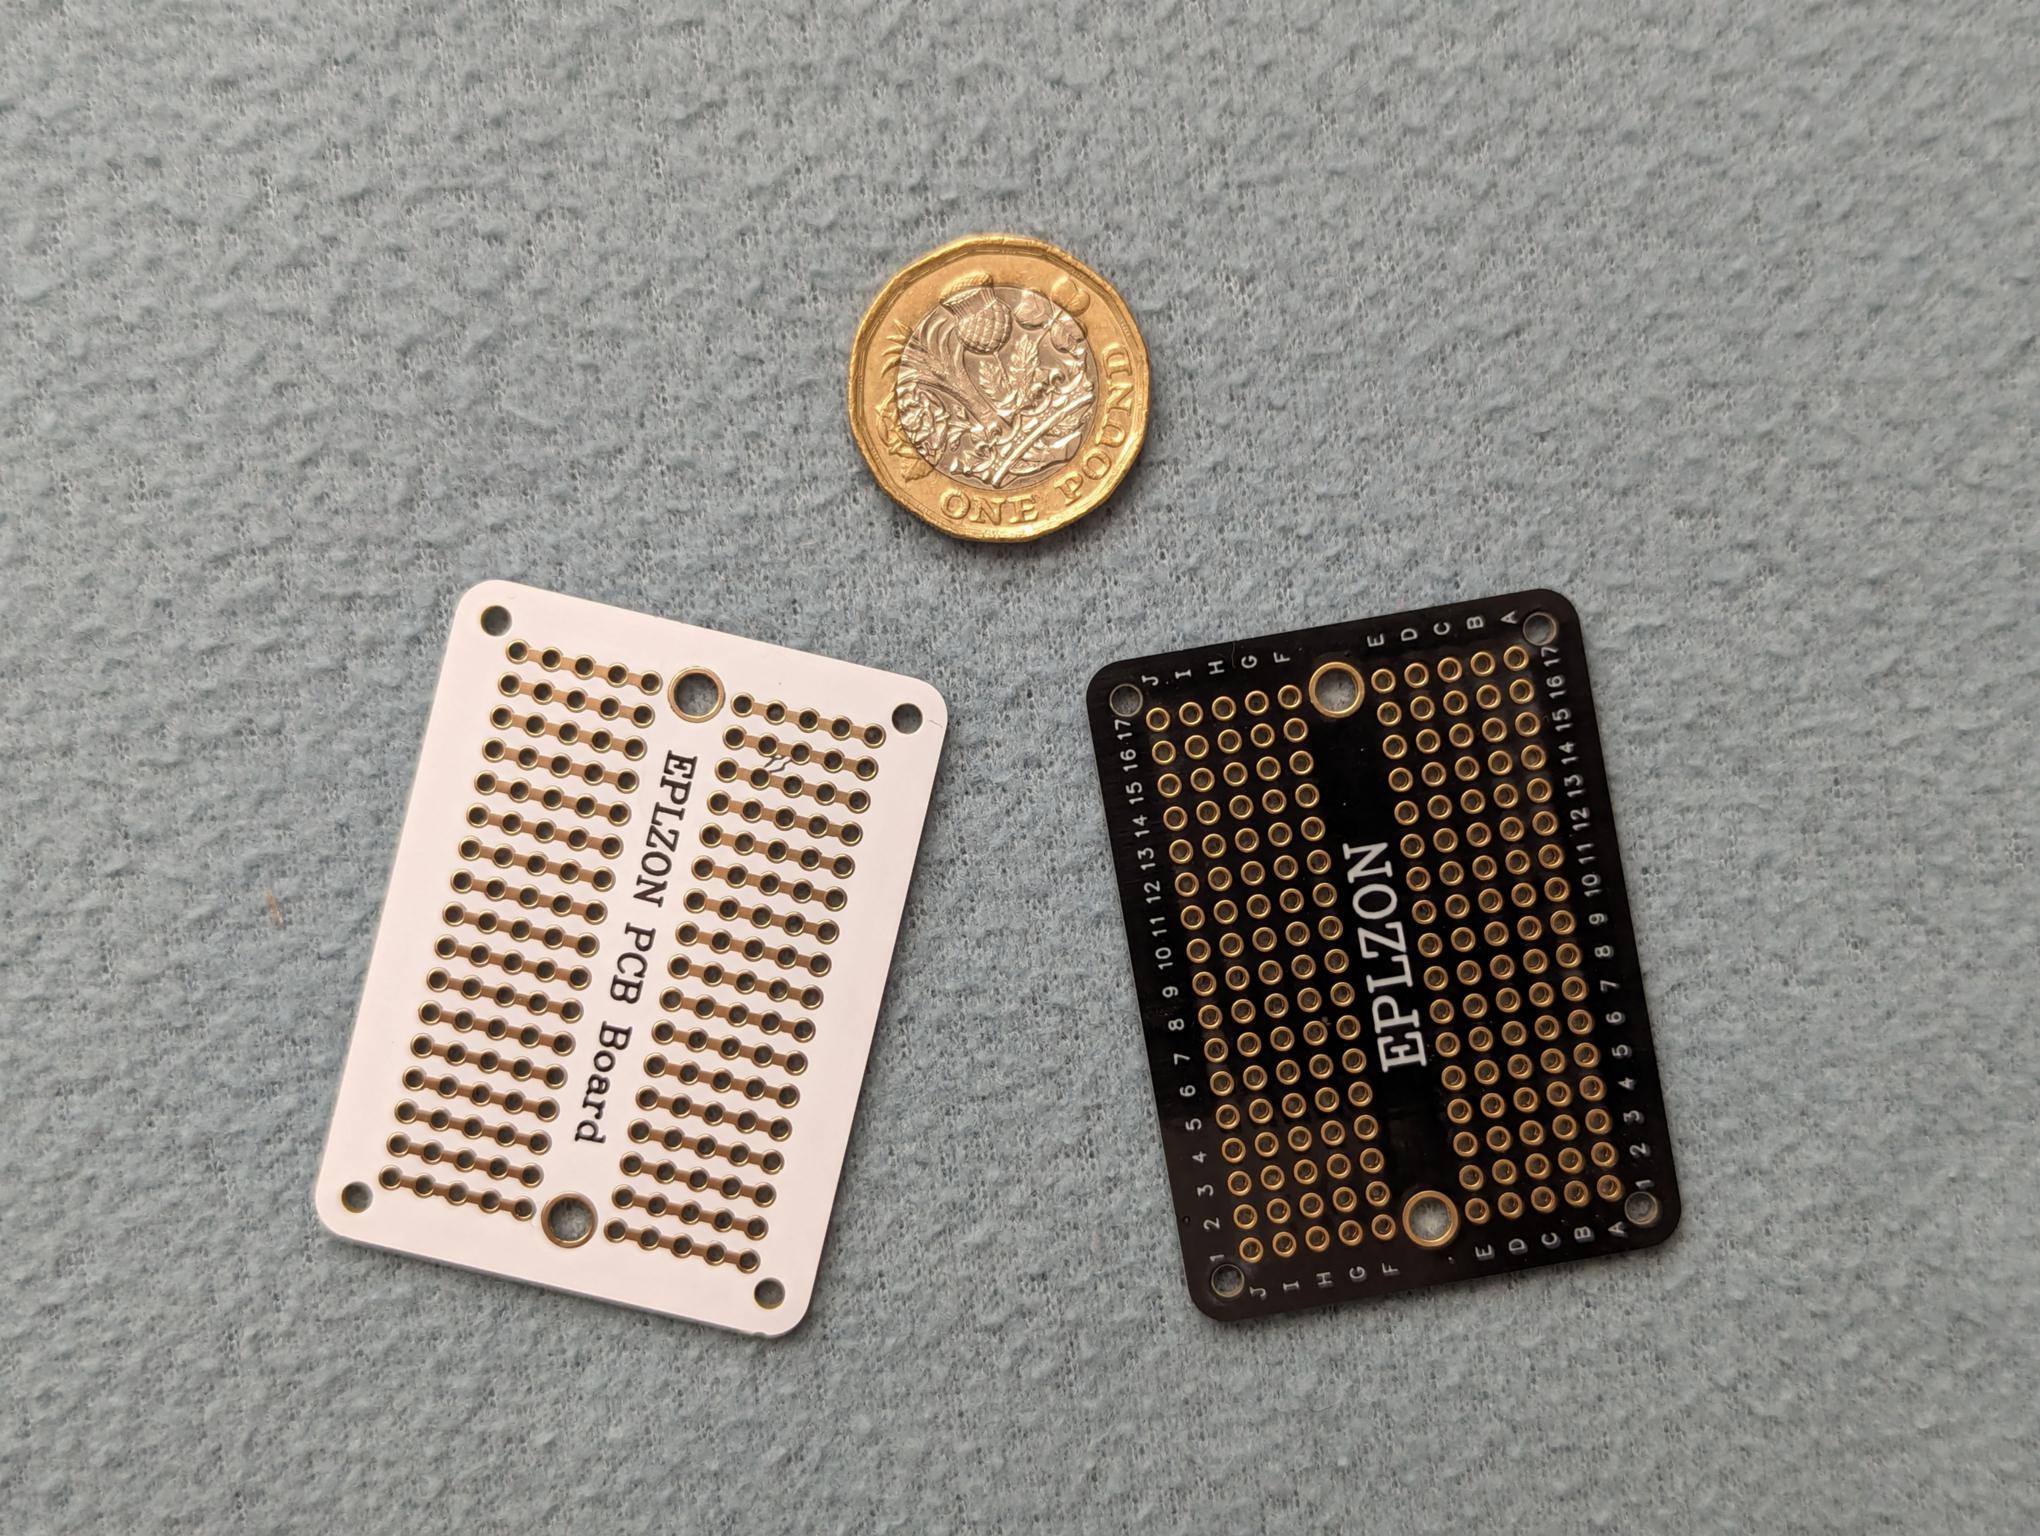
Breadboards
Final list of parts
| Component | Count |
|---|---|
| Seeed Xiao nRF52840 (BLE) | 2 |
| Kailh Choc Pink switches | 60 |
| Blank White Keycaps | 58 |
| Blank White Homing Keycaps | 2 |
Brass plate 150×150×1.5mm | 2 |
1N4148 Diodes | 60 |
250mAh Battery | 2 |
| Battery cables | 2 |
| Breadboard | 2 |
AWG 18 Copper wire | long |
| Heat Shrink tube | long |
M2 Standoffs & Screws | many |
| Header pins and sockets | many |
| Sheets of acrylic (for prototyping) | few |
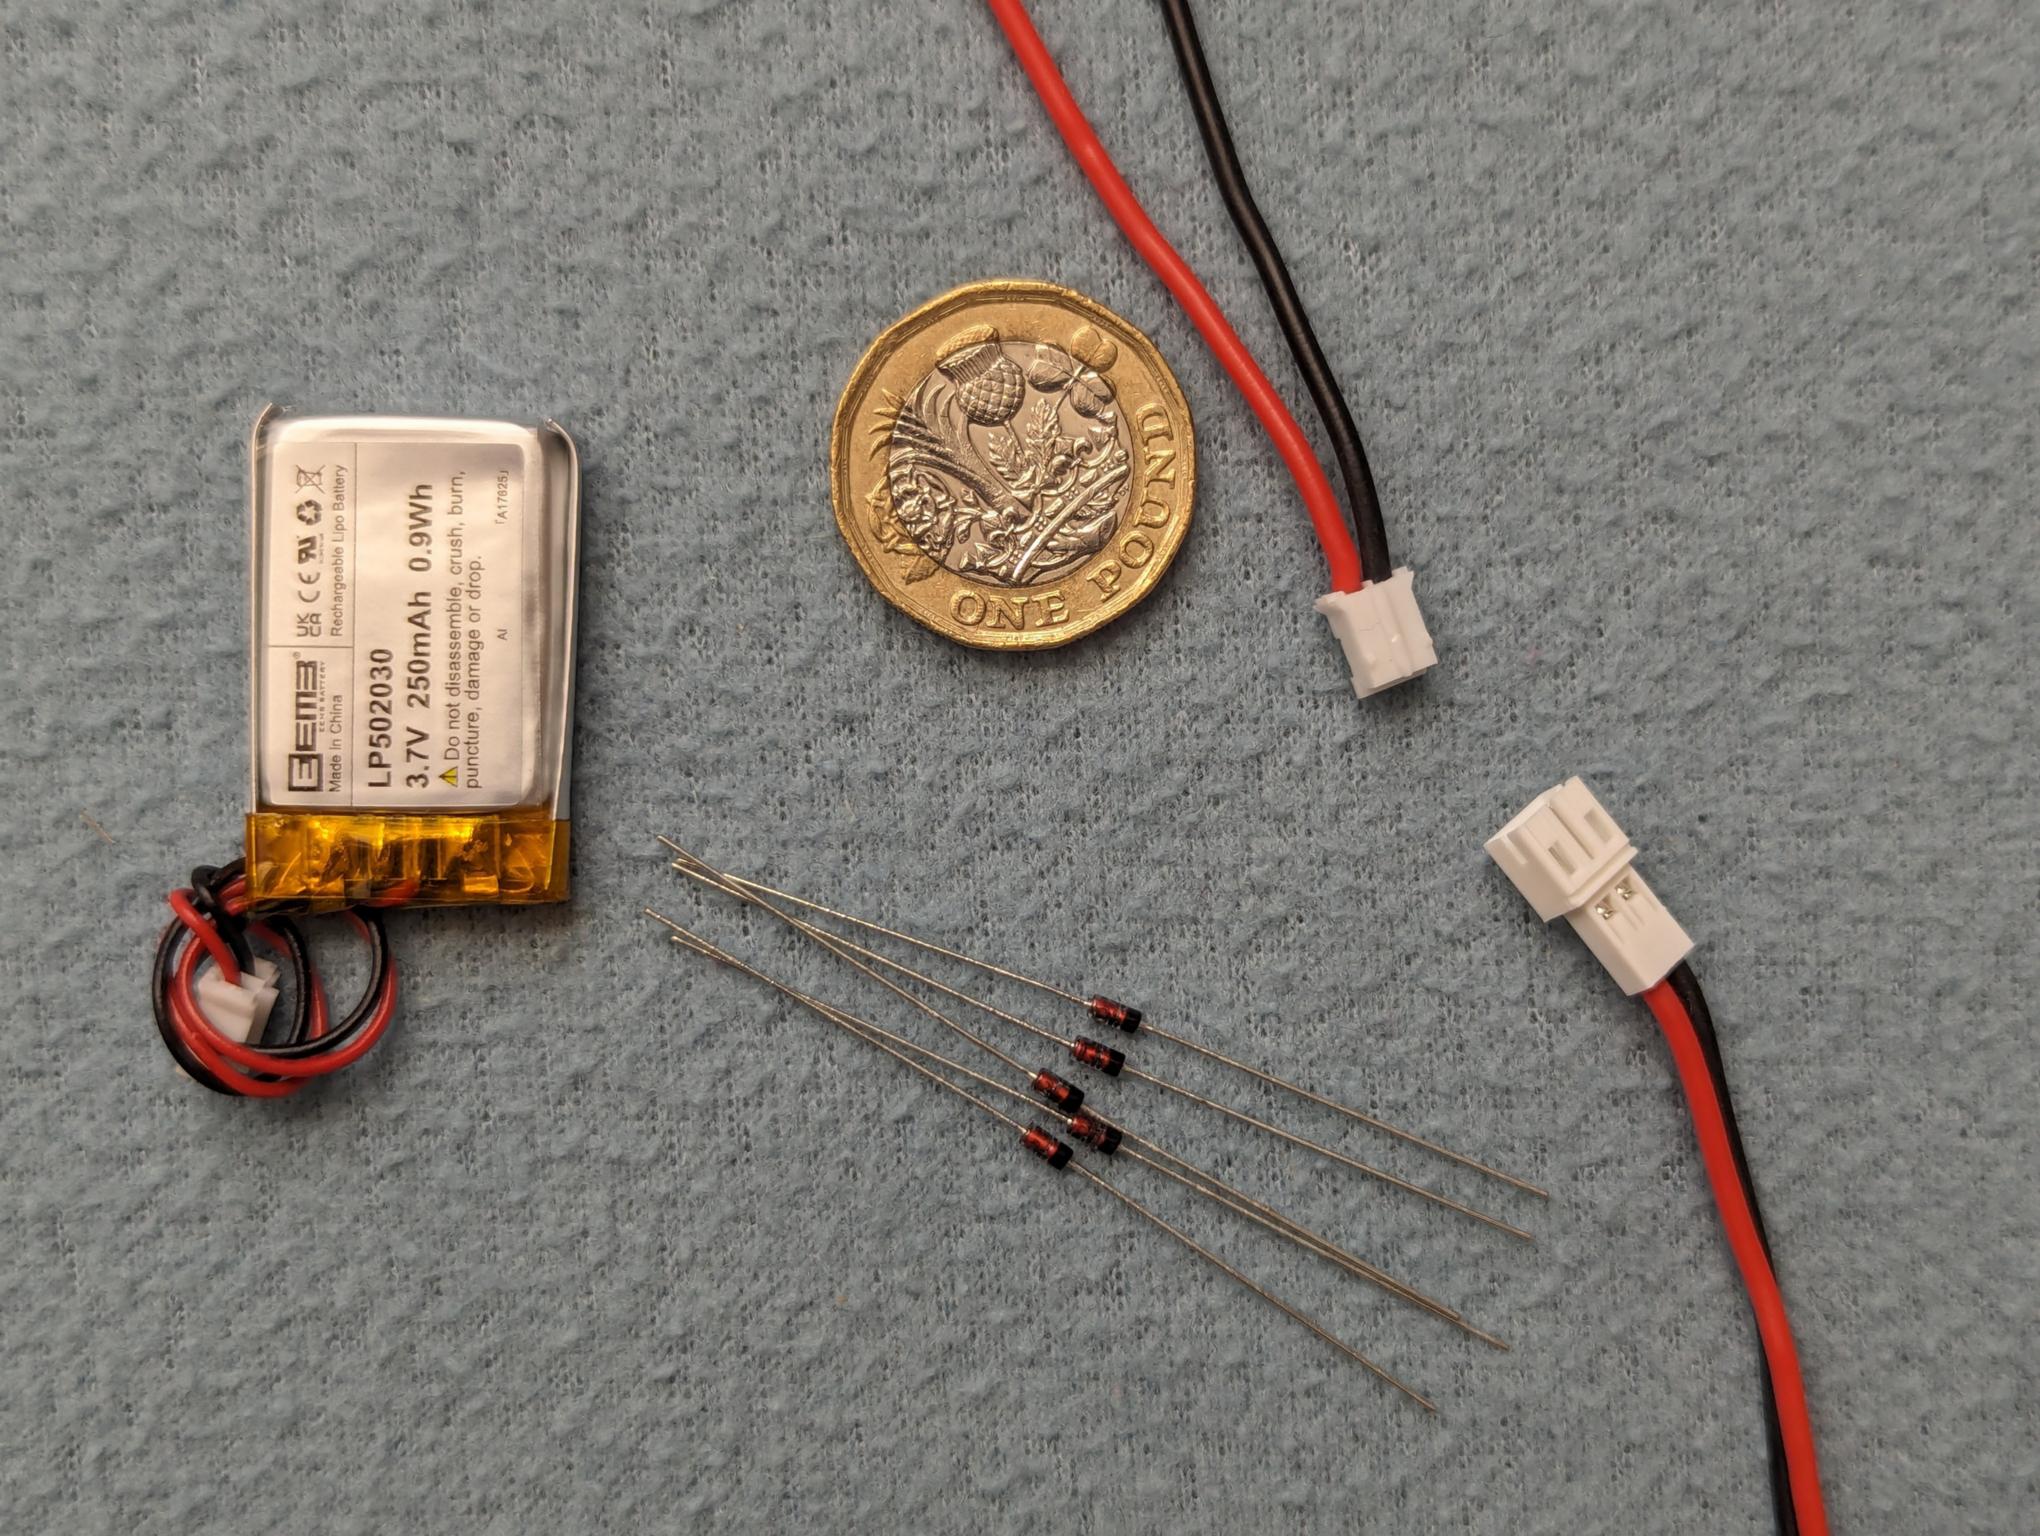
Battery, diodes, battery cable
Naming
The name of the project, Hovert60 or h/t60, highlights several project features:
Hover: the keys are held by the front plate, there is no additional support from a PCBHover: the switches have very low resistance, so typing experience will be very lightOvert: the keyboard enclosure is open from the sidesOvert: the development process is documented here60: There are 60 keys
What’s next
I plan the following posts after this one:
- Design process – post #2
- Manufacture
- Configuration
Planck EZ was retired in 2023, but just Planck still exists ↩︎
Read about Staggering #Columnar layout on Deskthority ↩︎
«Super» is an alternative name of the «Windows» or «Command» key, also known as «Meta». Read more about Super key on Wikipedia. ↩︎