Making a «Known Error» app for Tildagon
Table of Contents
At the end of May 2024, I went to my first EMF Camp, and I loved it. It had many interesting things to see and cool people to meet. I wouldn’t say I made new friends there, but I did get closer to members of Edinburgh Hacklab which I am also a member of.
This post is not about EMF Camp though, it is about one of its highlights: the Tildagon badge. These badges are electronic devices that are meant to be extended and modified, this is a hacker festival after all. The badges could be preordered for 25£.
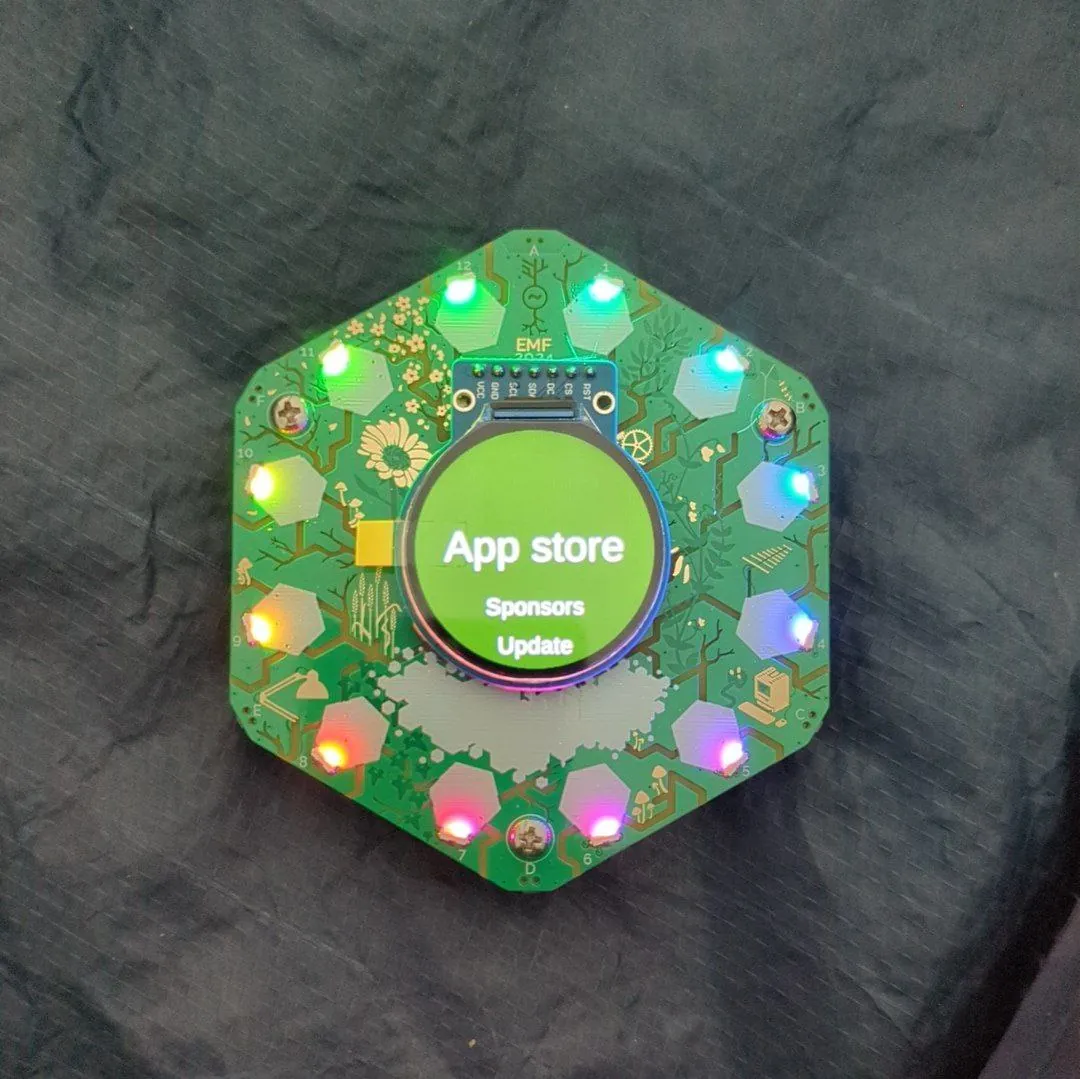
My Tildagon when I just received and assembled it
A bit more about the Tildagon
Tildagons have many features, some of which are:
- Amazing artwork and interesting design
- ESP32 microcontroller that runs MicroPython
- Round display, some bright RGB LEDs
- USB-C, WiFi, Bluetooth with BLE
- 6 Hexpansion connectors (custom solution for extending functionality or changing the look of the badge)
- Some buttons, a bunch of sensors
- A battery
People can freely develop applications and hexpansions for these badges. It’s an open-souce project, and even if some hardware is poorly documented or inaccessible from software, it can be fixed. EMF organisers also intend to reuse the same badges for future events, unlike the previous generations of badges.
I am excited to see what people would come up with in the following 2 years by the time EMF Camp 2026 comes. In fact, many people had already developed something for the Tildagons by the EMF Camp 2024! Lots of simple hexpansions were available for purchase or just given away. There was also the amazing Great Camp Hexpansion Quest – they hang 88 little hexpansions around the entire campsite for people to find, plug into their badges and progress in leaderboards! 1
Why I made this post
Some creators have already made some inspirational publications about the badges. I want my post to be inspirational for others as well, even if it does not feel very sophisticated.
- Hackaday: Hands-On With The Electromagnetic Field 2024 Badge
- Terence Eden: Displaying a QR code in MicroPython on the Tildagon Badge
On the day I received the badge, its firmware was not very useful. I think it was not even possible to install software from their App store at that time. However, it was still fun to play with, and cool to see how quickly problems got fixed by the badge volunteer team.
On that day, I got my badge stuck in a state where it would just show «Unknown Error» and would not respond. I could just reboot it, but I thought – isn’t this in the spirit of the festival? However, I thought that the error message was not flashy enough. So I decided to make an app that would let me access the «flashy error experience» on demand.
How I made the «Known Error» app
- GitHub: ftvkyo/tildagon-known-error
- Tildagon Docs: Run apps on real hardware
It was actually very easy to make an app. As I had a physical badge, I didn’t need to bother with setting up an emulator.
I mentioned that the badge runs MicroPython. For the app to work, it only needed a few files:
metadata.jsonthat tells the badge’s firmware infomation about the app__init__.pyto export the main class of the app (not sure if it’s required)app.pywith the actuall app functionality
metadata.json stayed the same:
{
    "callable": "KnownErrorApp",
    "name": "Known Error",
    "path": "apps.known-error.app",
    "hidden": false
}
__init__.py stayed the same:
from .app import KnownErrorApp
For the first installation, a directory for the app needs to be created:
# Note: you may need to change permissions on /dev/ttyACM0
# or add your user to a correct group to let mpremote access the device.

mpremote mkdir apps
mpremote mkdir apps/known-error
App installation process looked like this:
# Assuming the 3 app files I mentioned are in the `app/` directory
mpremote cp app/* :/apps/known-error/

# Now the controller needs to be rebooted.
#
# For me, the easiest way was to:
# 1. Launch mpremote:
mpremote
# 2. Send an interrupt:
#   Press Ctrl-C
# 3. Soft-reset the device:
#   Press Ctrl-D
# 4. Disconnect from mpremote:
#   Press Ctrl-X
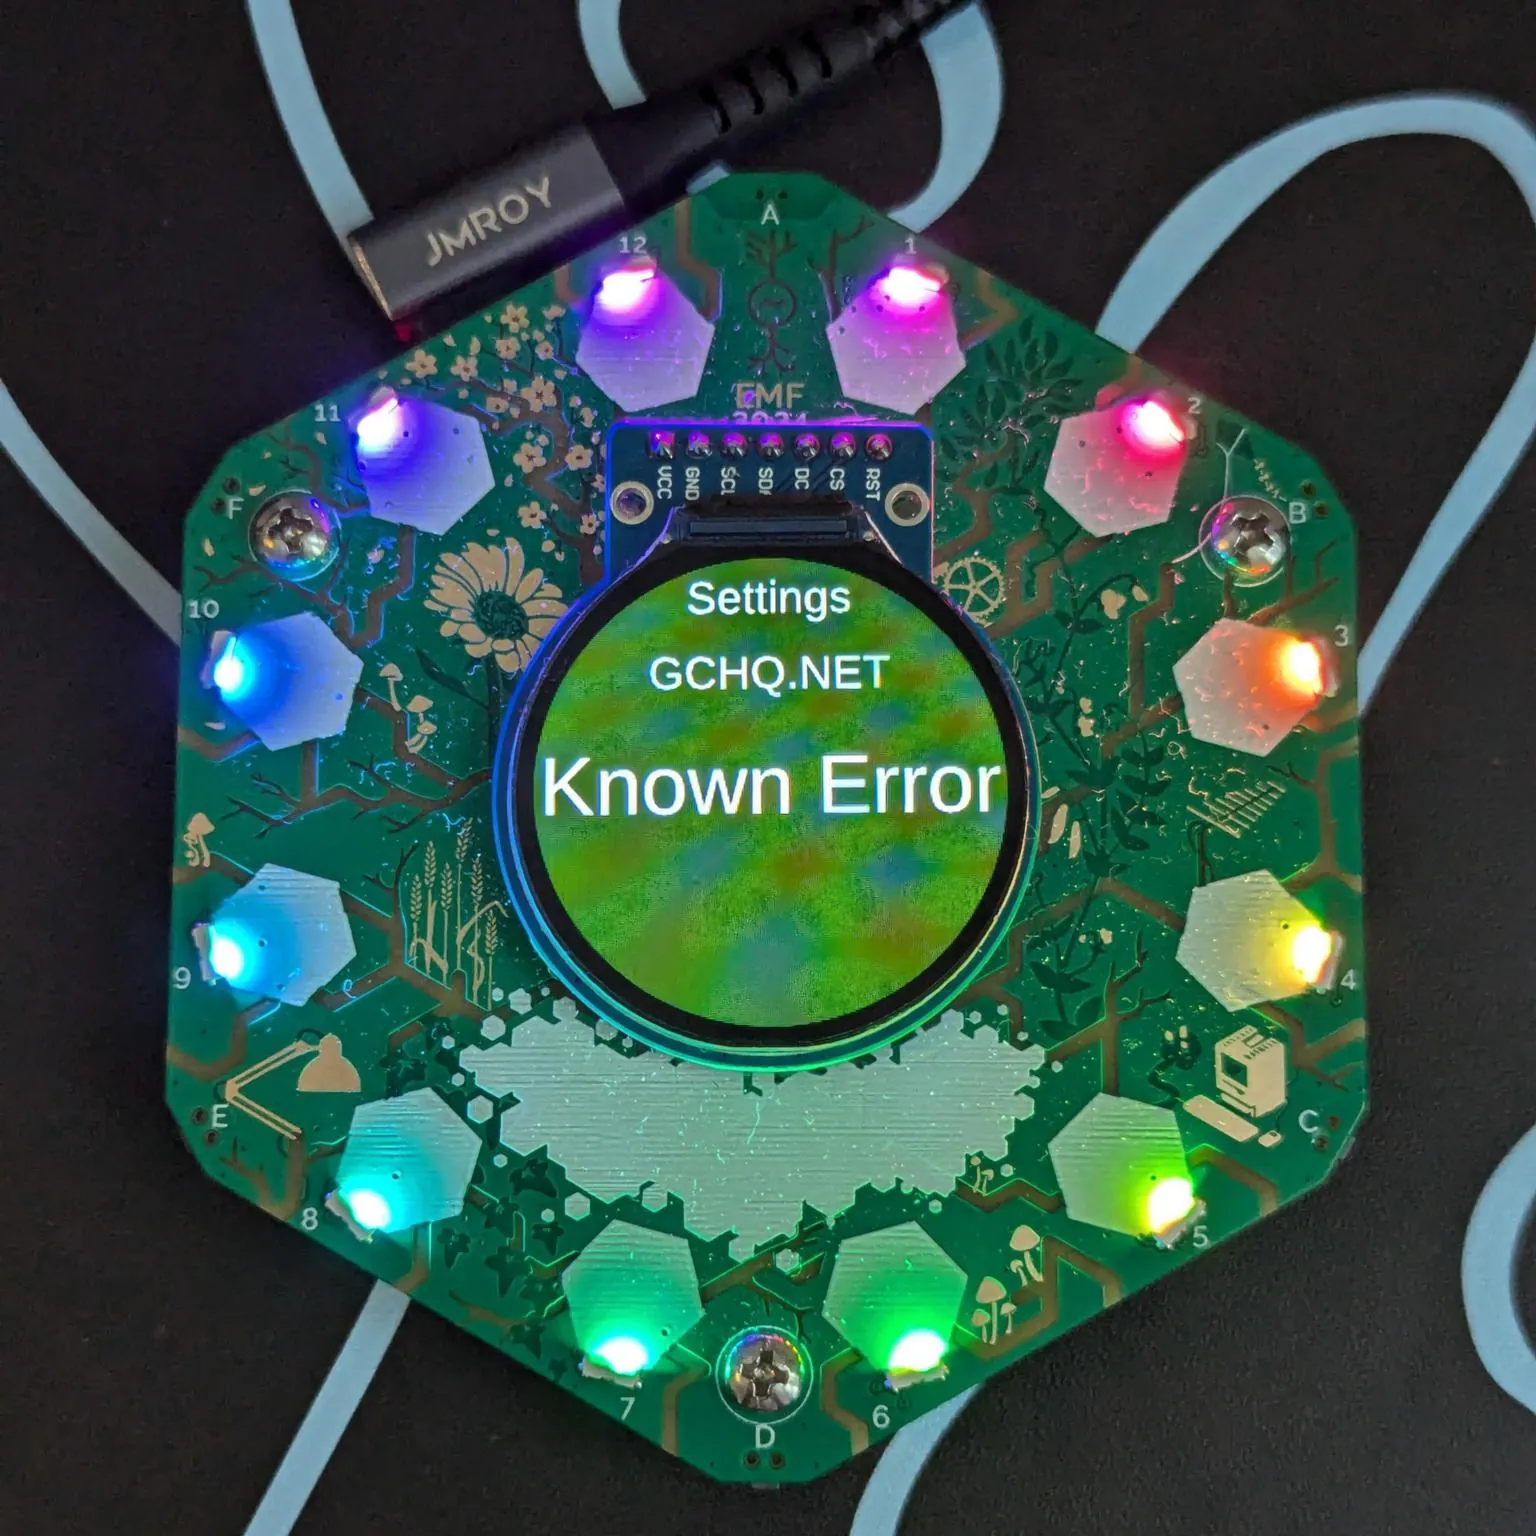
App as it’s shown in the list of apps in the main menu of the badge
Now, let’s look at the actual code! It may be a bit buggy, or do things incorrectly, but it works well enough.
Displaying text
Here is the full code of the initial version. It does 3 things:
- Checks if the «CANCEL» button was pressed to exit the app
- Fills the screen with black colour
- Draws «Known Error» text roughly in the middle of the screen
# There are some libraries provided by the Tildagon's creators
# that can be imported at runtime:

import app
from events.input import Buttons, BUTTON_TYPES


# Note that the `KnownErrorApp` class inherits `app.App`.
# We will be overriding some of the `app.App`'s methods.

class KnownErrorApp(app.App):
    def __init__(self):
        self.button_states = Buttons(self)

    # `update()` is expected to update the state of the app.
    #
    # Its `delta` parameter tells how much time has passed since
    # the function was last called. This allows compensating for
    # possible irregularity of the calls. This is a common technique.
    def update(self, delta):
        if self.button_states.get(BUTTON_TYPES["CANCEL"]):
            # It's important to clear the state of the buttons
            # because otherwise the app may exit immediately if
            # you open it, close it, and open it again.
            self.button_states.clear()
            self.minimise()

    # `draw()` is expected to display stuff on the screen.
    #
    # Its `ctx` parameter provides access to a drawing API.
    # Ideally, this function shouldn't update the state of the app.
    def draw(self, ctx):
        ctx.save()
        # Clear the screen (fill with black)
        ctx.rgb(0, 0, 0).rectangle(-120, -120, 240, 240).fill()
        # Render the rext
        ctx.rgb(1, 1, 1).move_to(-80, 0).text("Known Error")
        ctx.restore()
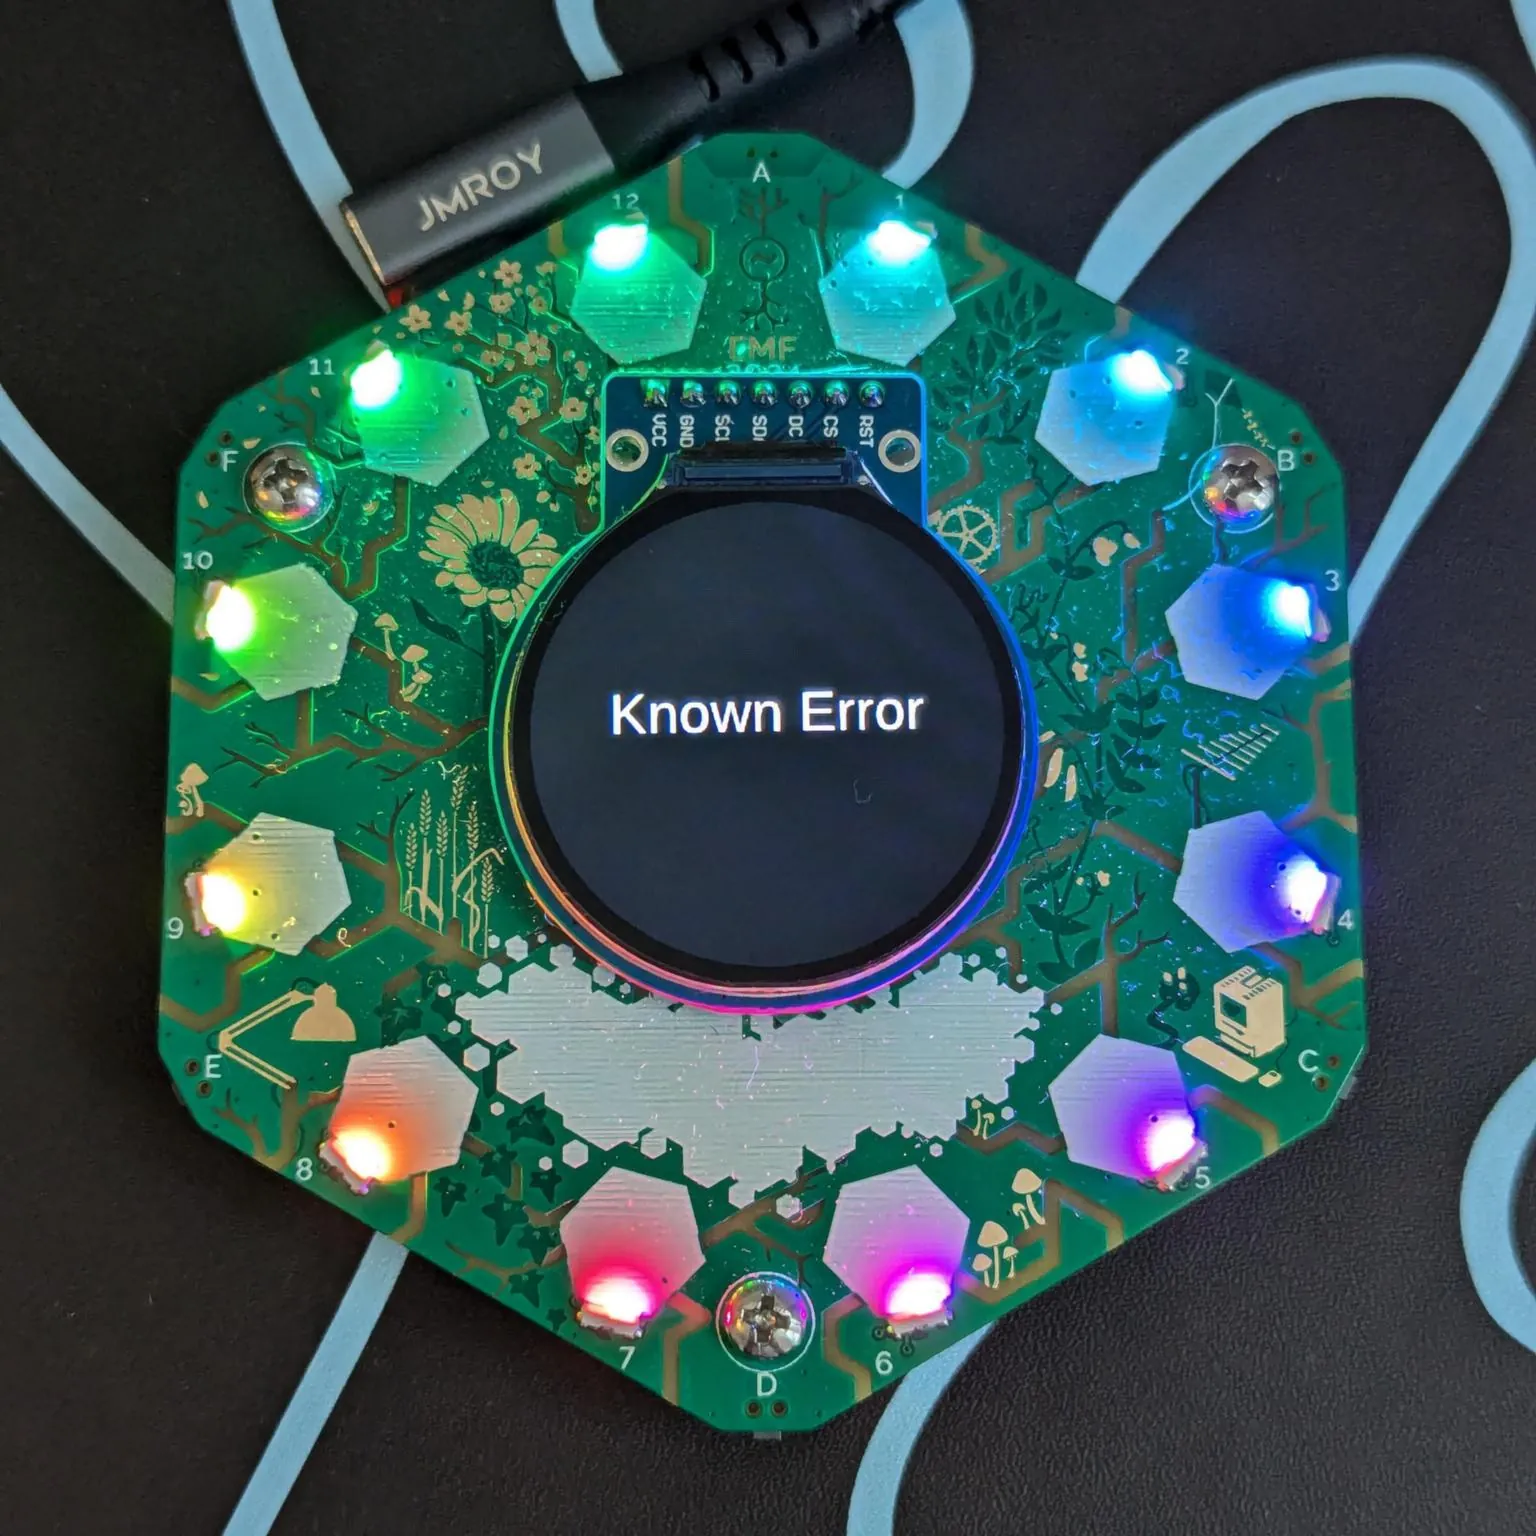
App displaying «Known Error» text
Changing displayed text in runtime
I wanted some interactivity from the app. Specifically, I wanted to be able to select which error message is displayed.
This required:
- Determining which error messages should be available
- Checking if «UP» or «DOWN» buttons were pressed to change the text
- Displaying the currently selected error message
How I implemented text selection
import app
from events.input import Buttons, BUTTON_TYPES


# This is a list of text strings available for display.
TEXTS = [
    "Known Error",
    "Unknown Error",
]


class KnownErrorApp(app.App):
    def __init__(self):
        self.button_states = Buttons(self)

        # This field tracks which text from the list
        # is supposed to be displayed.
        self.text_index = 0

   def update(self, delta):
        if self.button_states.get(BUTTON_TYPES["CANCEL"]):
            self.button_states.clear()
            self.minimise()

        # The following 2 `if` statements check if "UP" or "DOWN"
        # buttons have been pressed and update which text should
        # be displayed.

        if self.button_states.get(BUTTON_TYPES["UP"]):
            self.button_states.clear()

            self.text_index += 1
            self.text_index %= len(TEXTS)

        if self.button_states.get(BUTTON_TYPES["DOWN"]):
            self.button_states.clear()

            self.text_index -= 1
            self.text_index %= len(TEXTS)

    def draw(self, ctx):
        ctx.save()
        self.clear_background(ctx)
        # We now select the text to display based on the app state.
        ctx.rgb(1, 1, 1).move_to(-80, 0).text(TEXTS[self.text_index])
        ctx.restore()

    def clear_background(self, ctx):
        ctx.rgb(0, 0, 0).rectangle(-120, -120, 240, 240).fill()
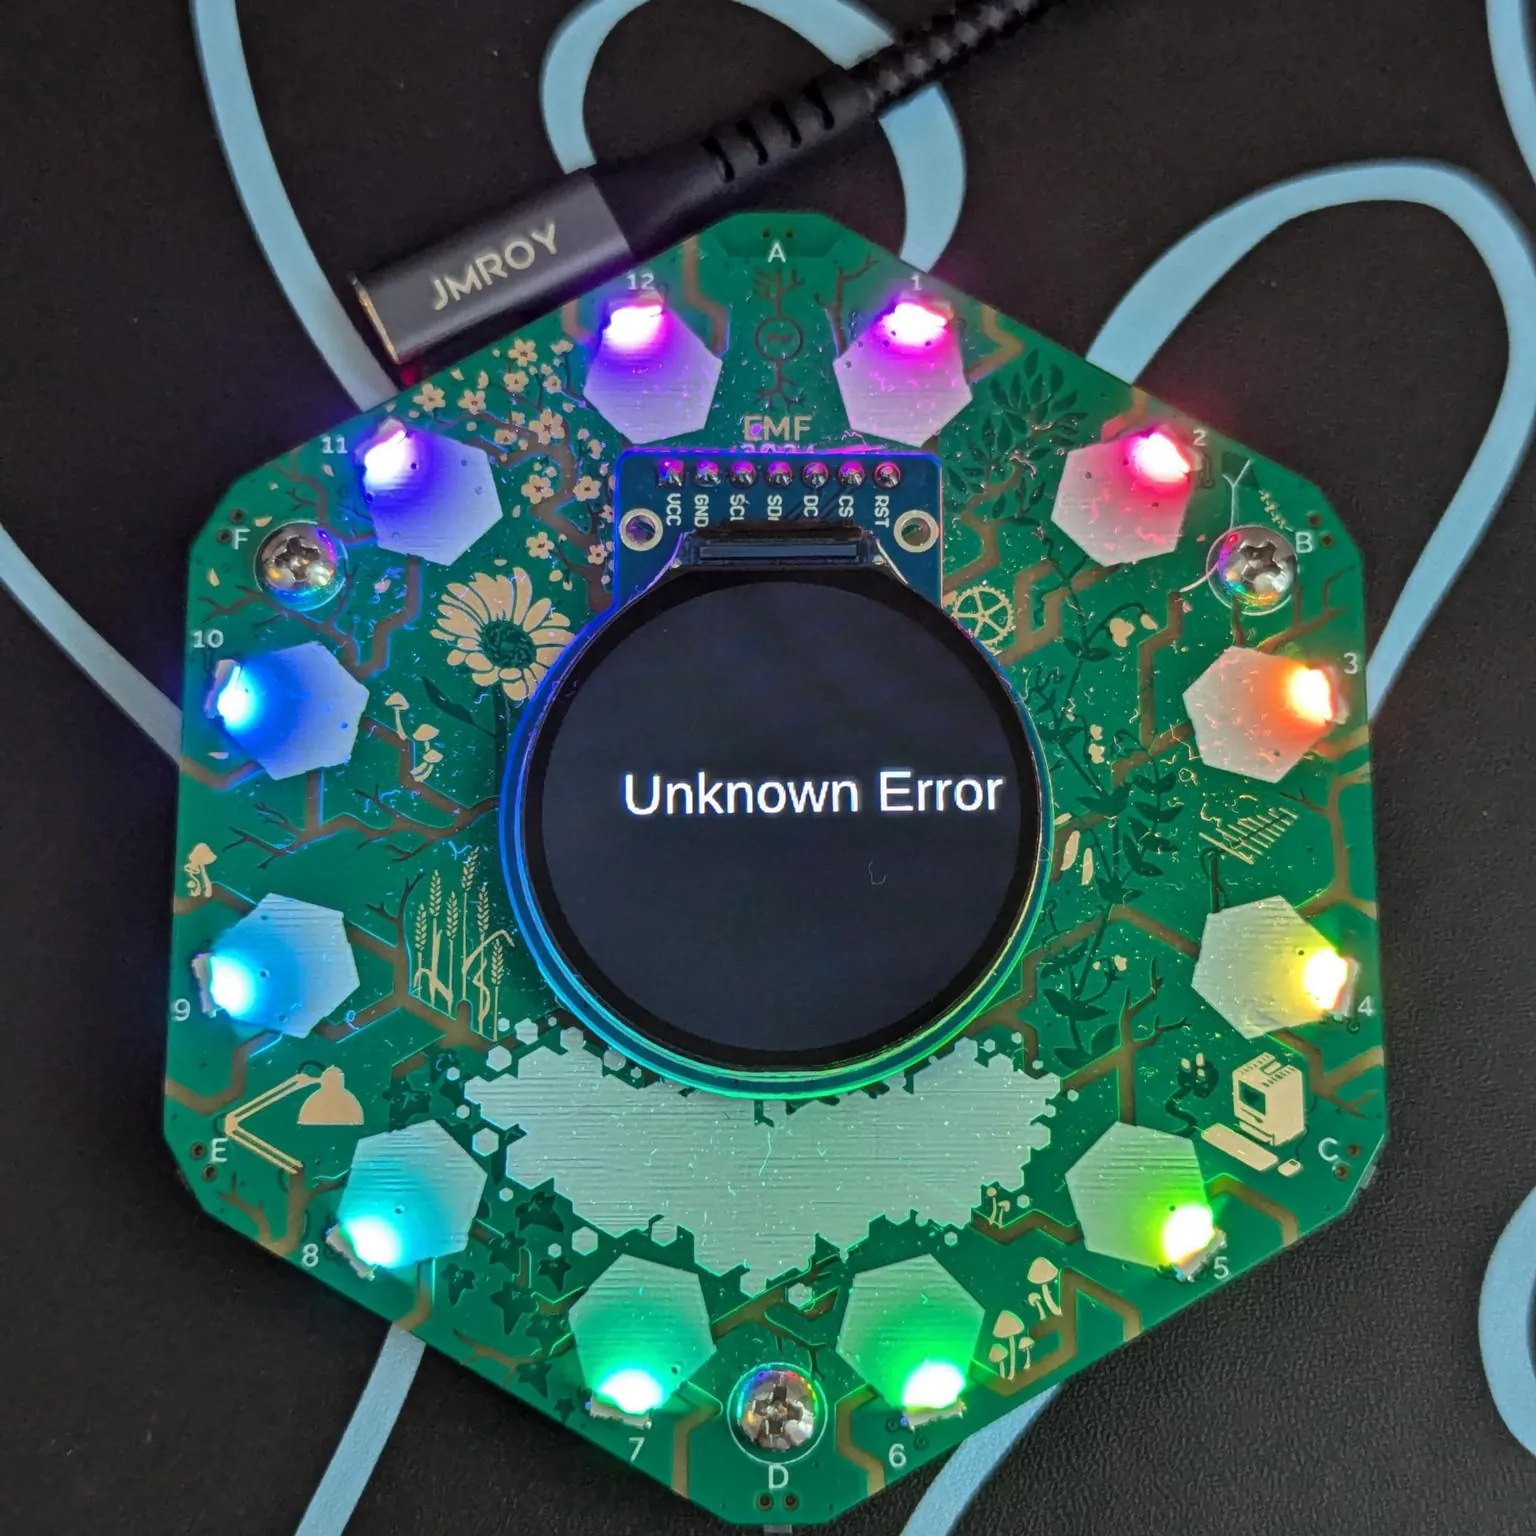
App displaying «Unknown Error» text
Adding glitch effects to make it more fun
I mentioned I wanted the app to be flashy. Just displaying static text is not flashy. So I wanted to add something dynamic into the app, something that changes on its own, without user interaction.
My original idea was to fill some part of the display with scattered pixels of different colors. However, I crashed the badge a few times trying to do this (probably consumed too much memory), and it didn’t look great either.
So in the end I decided to do these things:
- Add vertical stripes on top of the displayed image
- Random number
- Random colors
- Random positions
- Make the LEDs around the display more chaotic
- Change the pattern periodically (every 2 seconds)
How I implemented glitch effects
Note: the following code omits a few intermediate steps I made. However, it would not make much sense to describe those steps.
import math
from random import random, randint

# More stuff provided by the Tildagon developers is now exported.
# Specifically, `tildagonos` will be used to control LED colors,
# and event stuff will enable or disable the default LED animation.

import app
from tildagonos import tildagonos
from events.input import Buttons, BUTTON_TYPES
from system.eventbus import eventbus
from system.patterndisplay.events import PatternDisable, PatternEnable


# This is some info about the display, extracted into variables
# for readability.

MIN = -120
MAX = 120
SIDE = MAX - MIN

CENTER = (MIN + MAX) / 2


# This is a list of LED colors to be used in RGB format.
# The values in each of the tuples can range from 0 to 255.
# However, 255 is extremely bright, and just 15 is already good enough.

LED_COLORS = [
    (0, 0, 0),
    (0, 0, 15),
    (0, 15, 0),
    (0, 15, 15),
    (15, 0, 0),
    (15, 0, 15),
    (15, 15, 0),
    (15, 15, 15),
]


TEXTS = [
    "Known Error",
    "Unknown Error",
]


class KnownErrorApp(app.App):
    def __init__(self):
        self.button_states = Buttons(self)

        self.text_index = 0

        # The following are some settings and state
        # of the glitch effect being implemented.

        # Whether glitch is enabled at all
        self.glitch_enabled = False
        # How long has it been since we updated the glitch
        self.glitch_timing = 0
        # How often the glitch should be updated
        self.glitch_period_ms = 2000
        # What are the current glitch stripes to be displayed
        self.glitch_stripes = []
        # What are the current glitch LED values to be displayed
        self.glitch_leds = []

    #############
    # Overrides #
    #############

    def update(self, delta):
        if self.glitch_enabled:
            # Track how much time it's been since we updated the glitch effect
            self.glitch_timing += delta
            # If we reached the threshold when we should update, update the effect
            if self.glitch_timing > self.glitch_period_ms:
                self.glitch_timing = 0
                self.update_glitch()

        if self.button_states.get(BUTTON_TYPES["CANCEL"]):
            self.button_states.clear()
            print("Closing")
            # Restart the default LED animation when exiting the app
            eventbus.emit(PatternEnable())
            self.minimise()

        # "CONFIRM" is the button to toggle the glitch effect on and off
        elif self.button_states.get(BUTTON_TYPES["CONFIRM"]):
            self.button_states.clear()
            # Toggle glitch effect
            self.glitch_enabled = not self.glitch_enabled
            print(f"Glitch enabled: {self.glitch_enabled}")
            if self.glitch_enabled:
                # Stop the default LED animation when enabling glitch effect
                eventbus.emit(PatternDisable())
            else:
                # Restart the default LED animation when disabling glitch effect
                eventbus.emit(PatternEnable())

        elif self.button_states.get(BUTTON_TYPES["UP"]):
            self.button_states.clear()
            self.text_index += 1
            self.text_index %= len(TEXTS)

        elif self.button_states.get(BUTTON_TYPES["DOWN"]):
            self.button_states.clear()
            self.text_index -= 1
            self.text_index %= len(TEXTS)

    # To keep `draw()` nice and simple, the actual drawing is
    # "outsourced" to `clear()`, `text()` and `glitch()`

    def draw(self, ctx):
        ctx.save()
        self.clear(ctx)
        self.text(ctx, TEXTS[self.text_index])
        if self.glitch_enabled:
            self.glitch(ctx)
        ctx.restore()

    ###########
    # Updates #
    ###########

    # To keep the original `update()` simple, glitch updating logic
    # is extracted here.
    #
    # `update_glitch()` fills `glitch_stripes` and `glitch_leds`
    # fields with the content that should be displayed.
    # Later on, `glitch()` will draw stuff based on those fields.

    def update_glitch(self):
        self.glitch_stripes = []
        # Generates from 0 to 31 stripes.
        for _ in range(randint(0, 32)):
            # Choses a random x position and a random RGB color for the stripe.
            x = MIN + random() * SIDE
            r, g, b = random(), random(), random()
            self.glitch_stripes.append((x, r, g, b))

        self.glitch_leds = []
        for _ in range(12):
            # Chooses a random item from the LED_COLORS list
            i = randint(0, len(LED_COLORS) - 1)
            self.glitch_leds.append(LED_COLORS[i])

    ###########
    # Display #
    ###########

    def clear(self, ctx):
        ctx.rgb(0, 0, 0).rectangle(MIN, MIN, SIDE, SIDE).fill()

    # Text rendering function now includes a call to `ctx.text_width()`.
    # It calculates the width of the text in pixels without actually displaying it.
    # This way the text can be positioned dynamically, based on how much space
    # it actually takes. So the text is now properly centered.

    def text(self, ctx, text):
        width = ctx.text_width(text)
        left_edge = CENTER - width / 2
        ctx.rgb(1, 1, 1).move_to(left_edge, 0).text(text)

    # The `glitch()` function just draws 1px-wide and 100%-tall rectangles
    # of specified color at specified X positions, and then updates the
    # LEDs with the selected colors.

    def glitch(self, ctx):
        for (x, r, g, b) in self.glitch_stripes:
            ctx.rgb(r, g, b).rectangle(x, MIN, 1, SIDE).fill()
        for (i, color) in enumerate(self.glitch_leds):
            tildagonos.leds[i + 1] = color
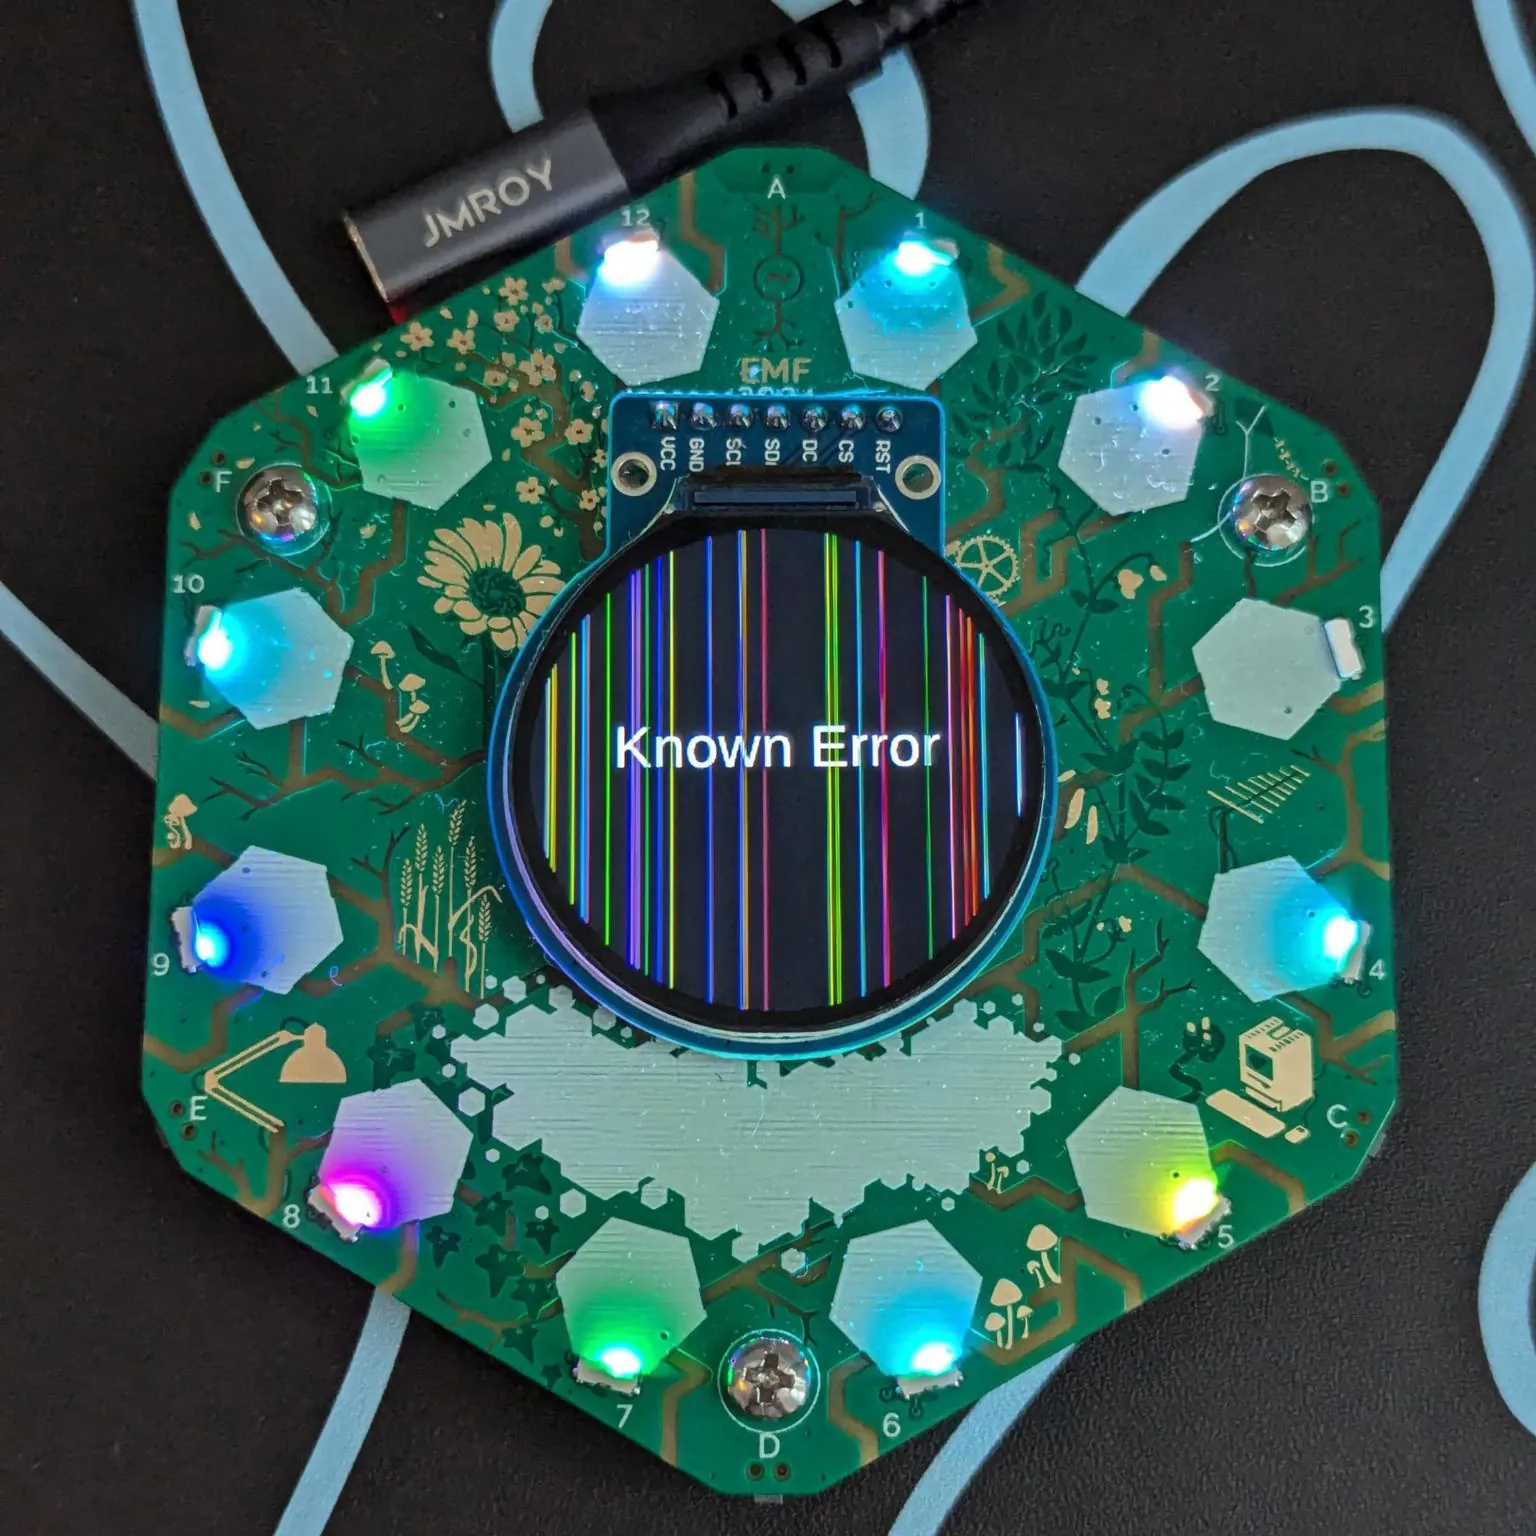
App in the glitch mode, displaying «Known Error» text (the pattern changes every 2 seconds)
All in all, I think this little project turned out to be very fun. It had the perfect balance of novelty for me – I never used MicroPython, but it was easy to figure it out. The drawing API and other interfaces were also quite easy to pick up. I haven’t played with the device since I came home yet, but I would like to return to it and do more fun stuff with it.
This experience has also been quite rewarding. I didn’t have to write much code, and everything was done within basically one day. Apparently, I added the LED glitching functionality at around 2am. During the event, a few people asked me about what is displayed on my badge, and I was happy to tell them about the app.
- GitHub: ftvkyo/tildagon-known-error
Generally… please don’t connect random stuff you find outside to your devices. ↩︎